Benjamin Olson Talks Camera Trapping
Photographing Wildlife in Northern Minnesota
An Adventure in Camera Trapping by Benjamin Olson
Getting Started
Four years ago I built my first camera trap. It had 3 Nikon SB-28 flashes wired to work with Canon cameras, a Trailmaster TM-1550 infrared trigger, a PIR sensor and home-made housings for the camera and flashes. It was a disaster. Problem after problem and non-stop expenses caused major frustration; I had to go back to the drawing board and redesign the system to function in the harsh environment in which I worked.
I spent the next year refining the designs and an excessive amount of money. I finally built a system I was happy with, but there was much to be desired. The cables were out of control and were often severed by gnawing rodents. The Trailmaster sensor worked well but it was large, tedious to set-up and its sensitivity wasn’t as adjustable as I liked. The PIR sensor on the other hand was more sensitive, but didn’t allow for triggering within an exact location, it surveyed an entire scene. Finally, the weight of the system was almost unbearable – it was pushing 65 lbs; which was not ideal given the dense forest environments I work. I am a perfectionist, so all of these imperfections and equipment failure began to take its toll. There had to be a better way to improve these designs and bring the camera trap into the 21st century. There was no reason I should have deal with cables, excessive weight, condensation on my housing lens, or failing electronics on discontinued flashes.
The Next Chapter
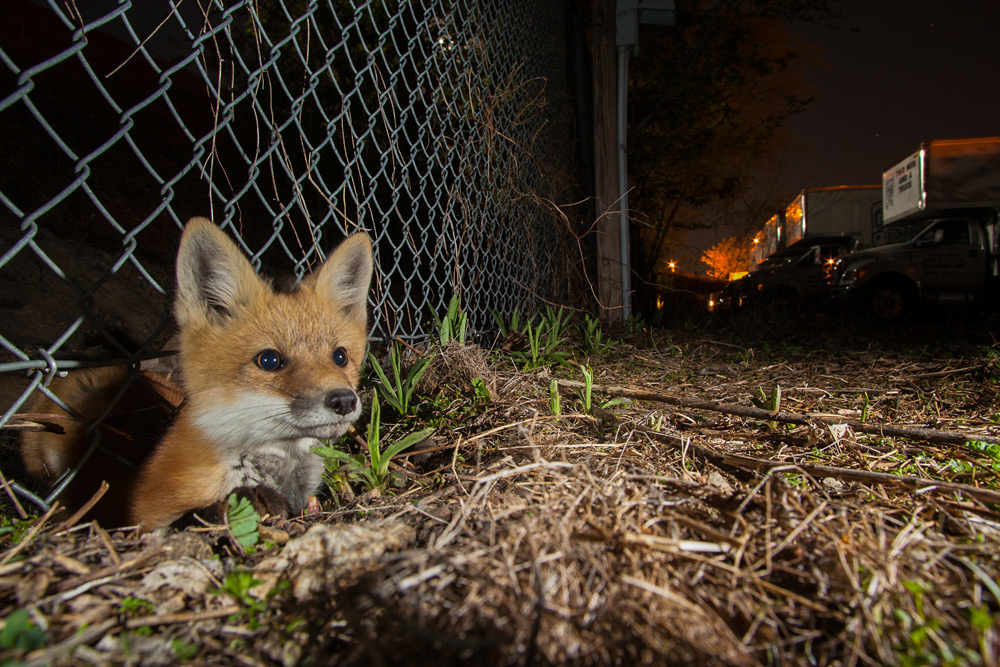
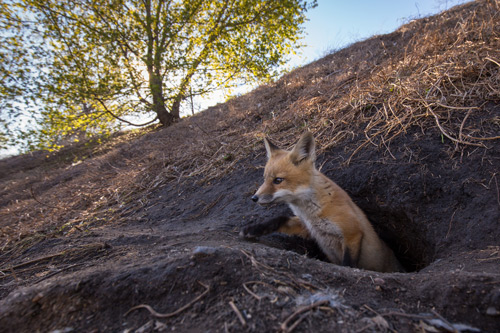
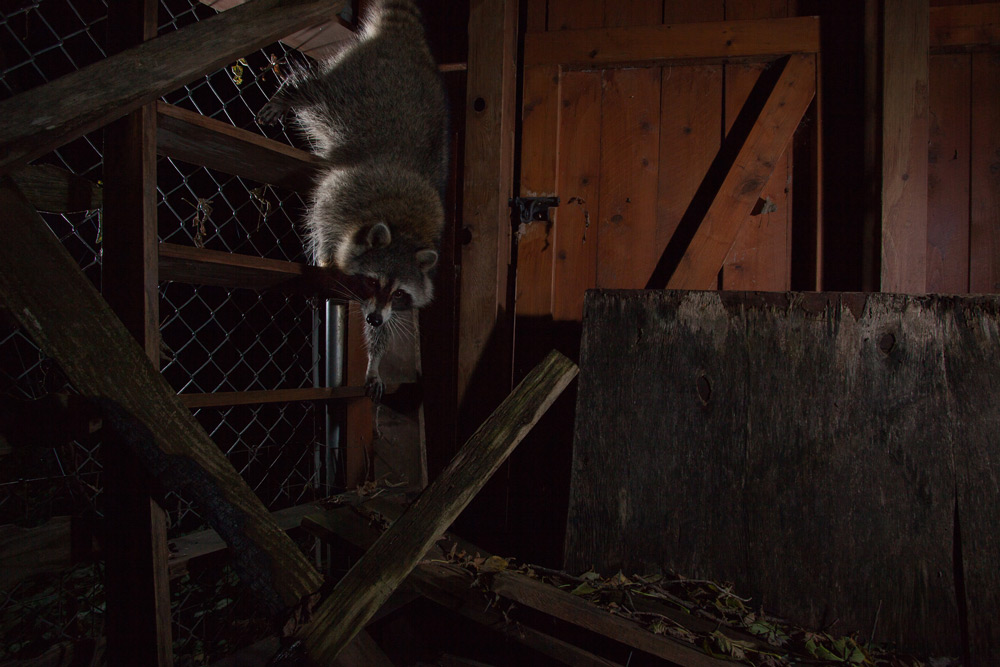
In the winter of 2015 I met Paul, the owner of Cognisys, at the 2015 NANPA (North American Nature Photography Association) Summit. I immediately noticed their RangeIR and bought it after Paul and I discussed camera trapping and all the difficulties that are associated with it. I was anxious to get it home and experiment with it. I was fortunate enough to find an urban red fox den situated next to a parking lot of a moving truck company. After further investigation, I found two areas where the kits were crossing under the fence. This was perfect for testing the RangeIR. See the image at the top of the page for the results. I mounted the sensor above the crossing point and adjusted maximum distance the RangeIR beam would trigger the camera just above the ground. This feature is what convinced me to purchase the RangeIR. There are so many situations where having a transmitter and receiver just wasn’t practical or was difficult to set-up so the receiver didn’t show within the picture. After the first night out I had captured many pictures of the fox kits crossing under the fence, I was ecstatic! The only issues I had encountered were the short battery life - which I was aware of - and the finicky distance adjustment dial.
The Sabre
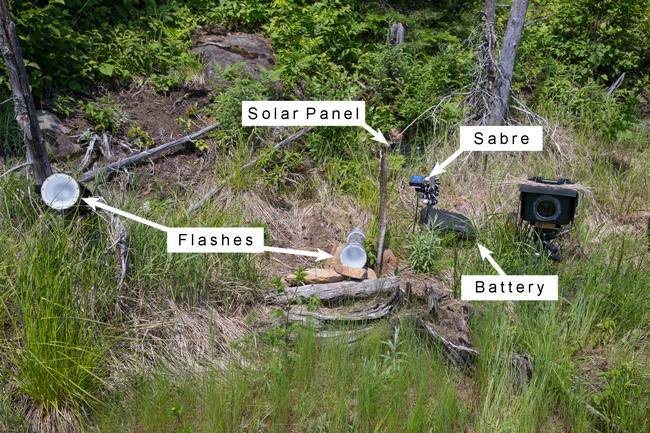
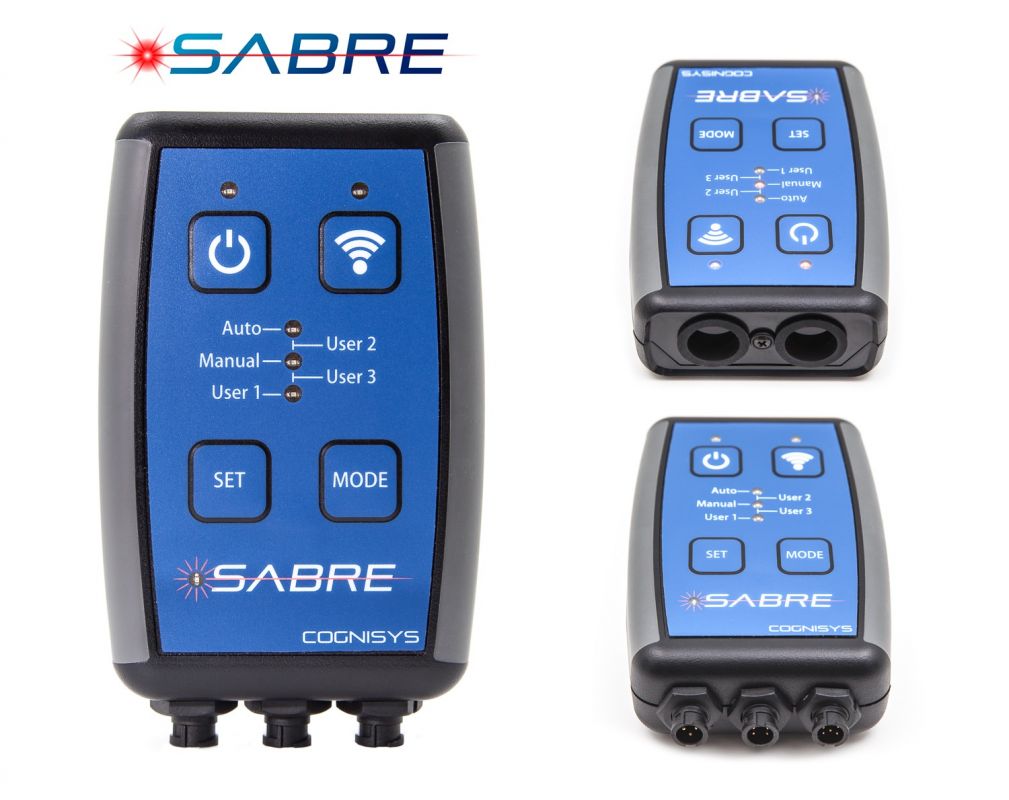
Shortly after I had purchased the RangeIR, Paul told me about the new product they were releasing, the Sabre. This was essentially the RangeIR on steroids. Completely weather sealed, programmable via a Wi-fi compatible app, along with solar panel and external battery capabilities. What I love most about the Sabre is I can adjust every variable using my phone, even in the most remote locations. This includes sample rate (sensitivity); active portion of the laser – this is the most important feature: a minimum and maximum trigger distance can be set - this avoids unwanted triggers and prolongs battery life; camera controls like number of frames being shot per trigger, and many more. This sensor isn’t designed for prolonged camera trap usage, but I found it to be an incredibly useful tool when used right. So in order to deploy this system for extended periods of time I had to use a solar panel and 12V 20AH deep cycle battery. The solar panel charged the battery, which in turn charged the Sabre. This combination worked perfectly and provided continuous power to the Sabre for over 3 months. There is one issue with my system - the insane extra weight that comes with using a deep cycle battery in the field; the battery alone weighs 20 lbs. This means that my cameras were set up in very accessible locations or that I had to schlep 65 lbs of gear through dense forests and wetlands for miles. While this system isn’t necessarily convenient, it was the best camera trapping set-up I had used to date.
The Results - Sabre
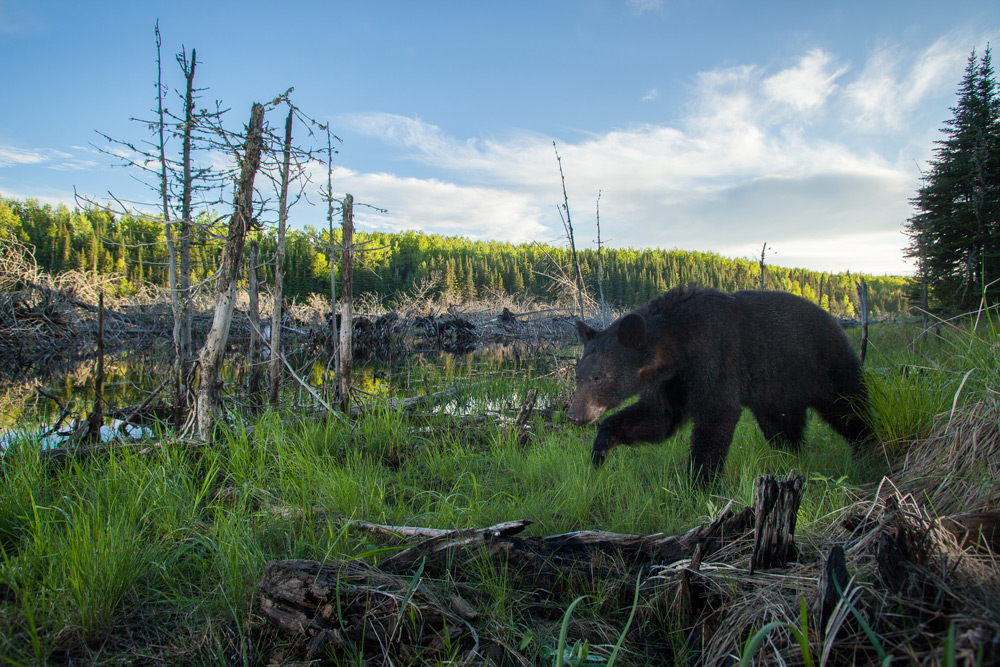
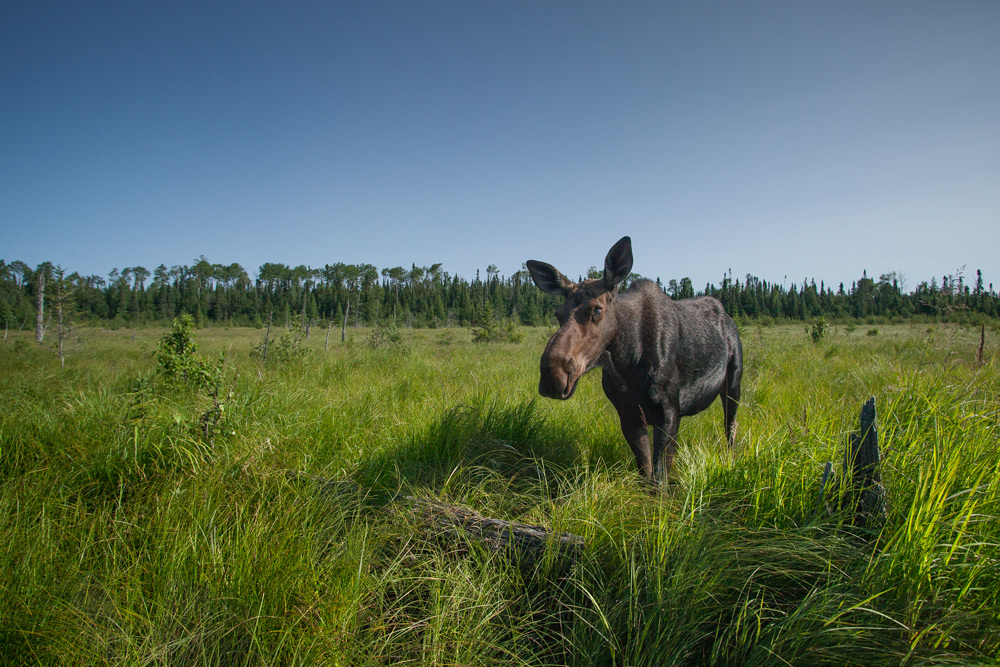
This moose and the black bear image below were captured with the Sabre setup shown above.
The Scout
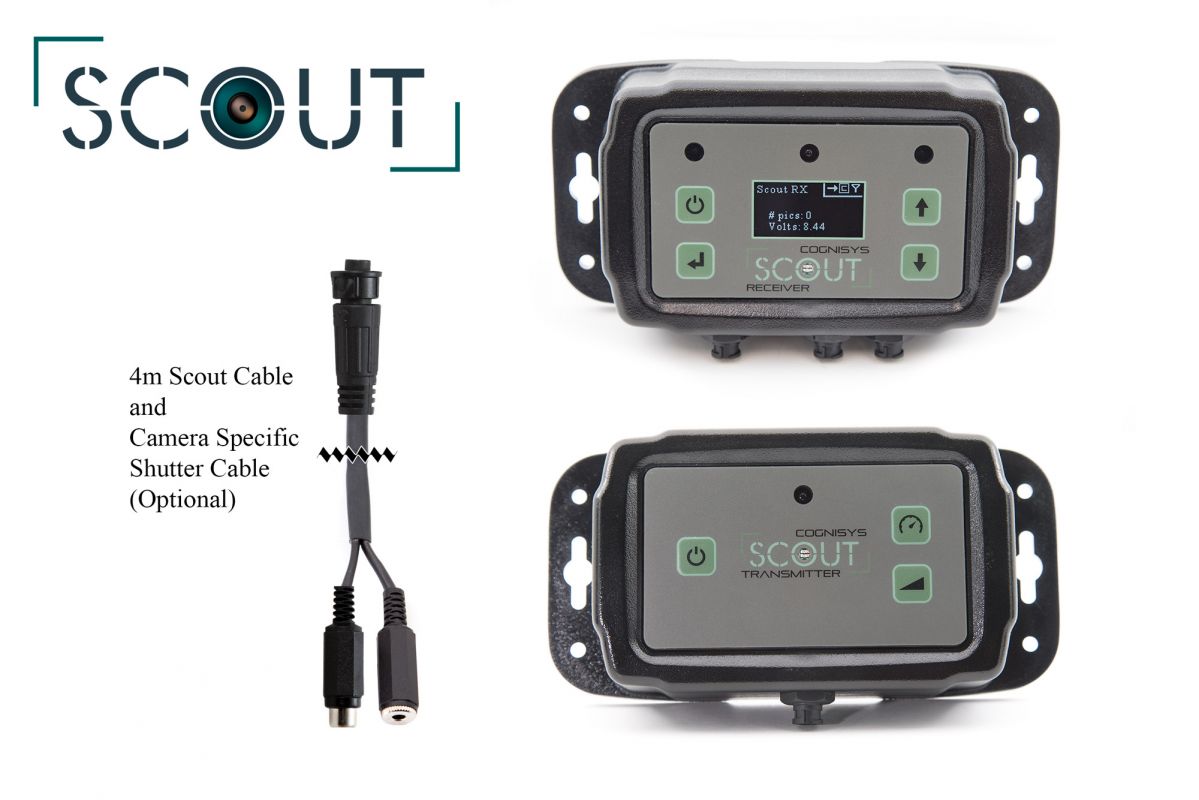
At this point, I had been camera trapping for 3 years and while I was incredibly happy with my RangeIR and Sabre, they weren’t specially designed for camera trapping and long-term deployment. So I began discussing the prospects of Cognisys producing a modern version of the Trailmaster TM1550 that was smaller and programmable like the Sabre. Thankfully, Paul was already at the drawing board and in the early steps of creating the Scout. This camera trap sensor is what I had been looking for. The Scout does have a transmitter and receiver but it is significantly smaller than the Trailmaster – making the receiver much easier to hide, the menu is intuitive and easy to navigate, it can be used wirelessly, battery life is months long, the sensitivity is adjustable and can be set high enough to be triggered by fast moving animals – unlike the Trailmaster. Finally, the setup process of the Scout takes seconds. I have been utterly blown away by this system and cannot wait to see what else Cognisys produces in the future, I am positive it will be nothing short of amazing!
More Information
This article and all of the images were contributed by Benjamin Olson. Many thanks to Ben for putting this together and sharing it with us! You can see more of Ben's work on his web page benjamin-olson.com. Ben has been working with us for several years now and his evolution through our product line has been instrumental in helping us develop the next generation of camera trapping electronics.
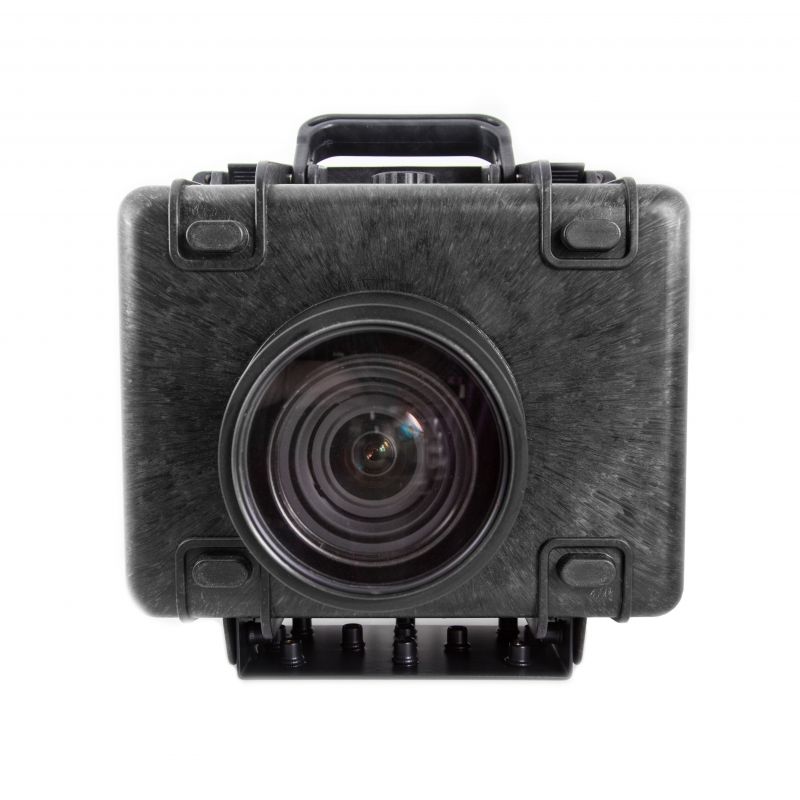
Find more information on our latest Camera Trapping products including the Scout Sensor and the Scout Camera Box.

