Stacking Live Arachnids
Stacking Live Arachnids
contributed by Scott Linstead
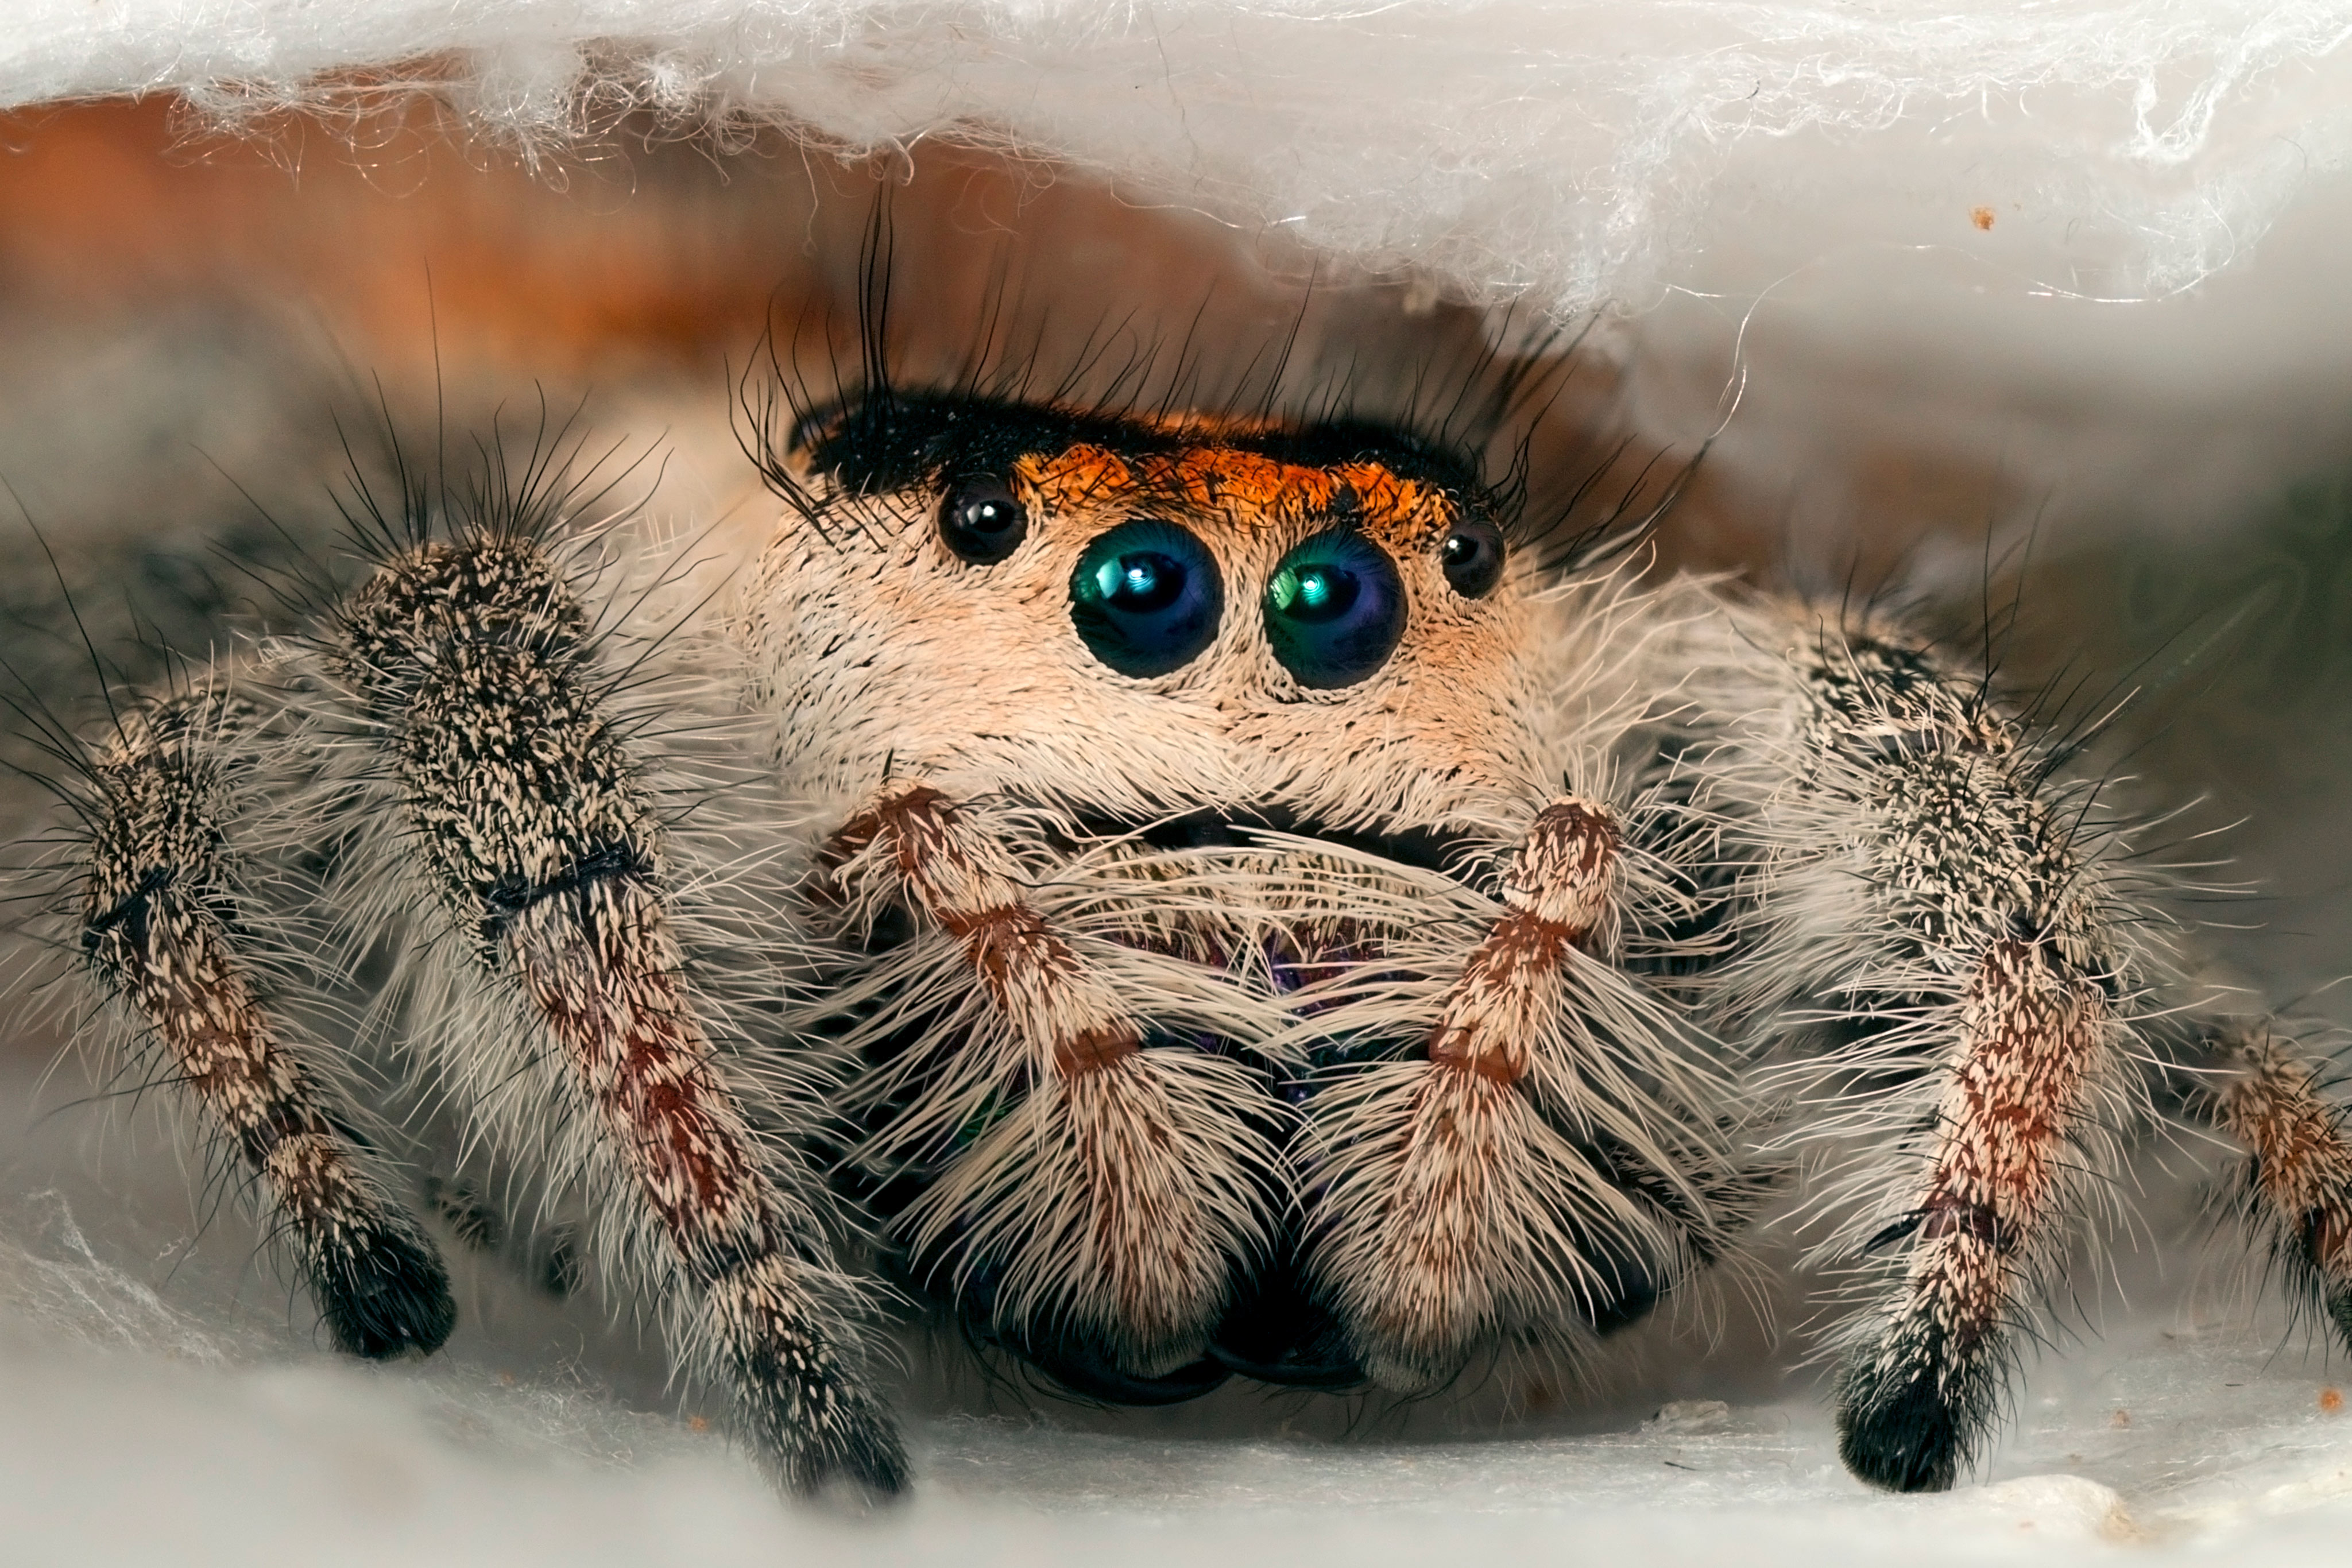
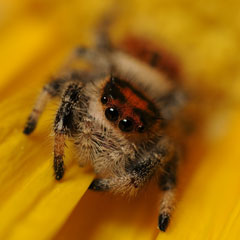
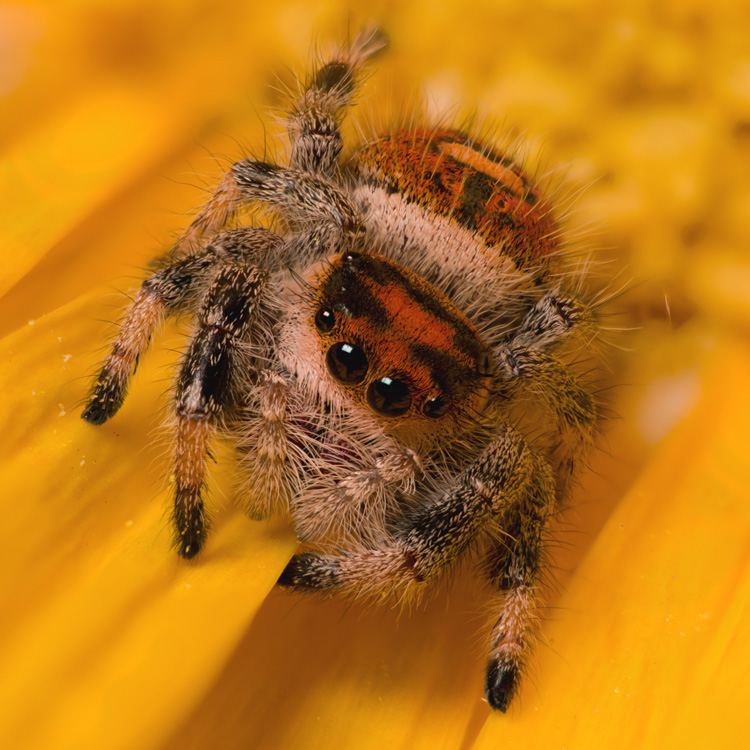
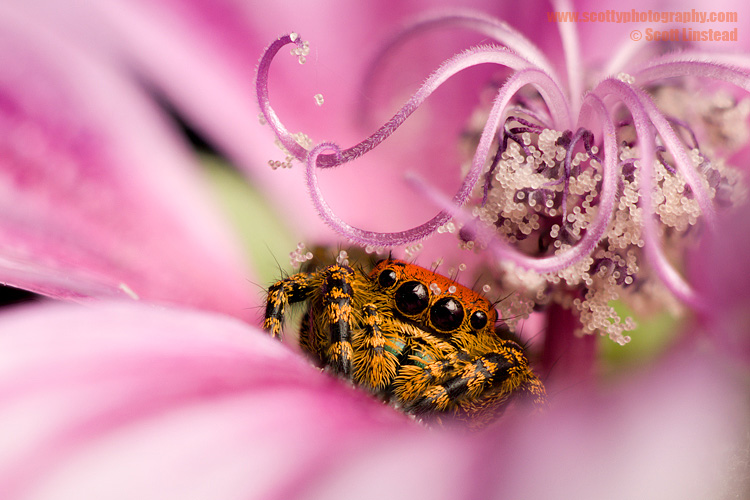
Orange Morph Jumping Spider
There’s no question that deceased insect and arachnid specimens are ideal subjects for focus stacking. However, getting live critters to stay still long enough for a successful stack requires a cooperative subject and a bit of creativity.
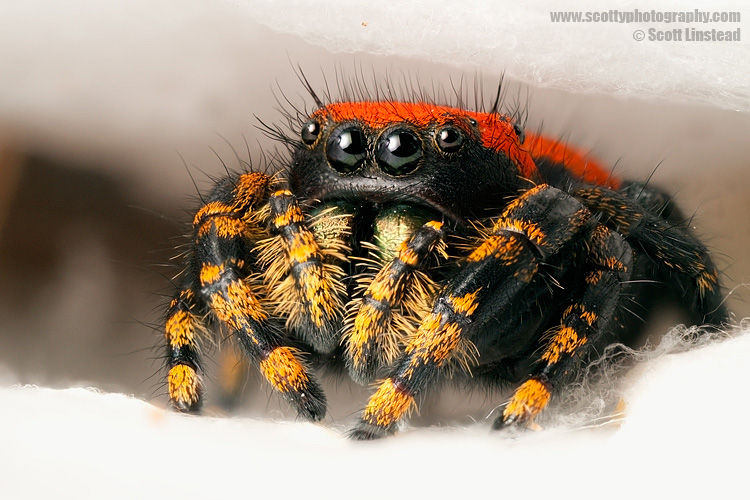
In 2010 I produced a series of jumping spider images that were published as features in Ranger Rick and Canadian Geographic. The action images were the focus of most of the attention the series garnered, but the static close-ups were more often in contention for front cover use. I guess illustrating the big, forward-facing eyes of the jumping spider was equally important to the photo editors as the spider’s namesake activity.
Those big eyes are at the heart of what makes the live jumping spider a suitable subject for stacking. Unlike many other spider species, the jumper relies heavily on visual stimulus for survival. In simple terms, turning off the lights in the room will often cause the jumper to go into what I can only describe as an “overnight” mode. If there are any nearby crevices, the spider will back itself in with its eyes facing outwards; clearly an ideal situation for photography. As for my own ability to see under these conditions, I use a head-mounted LED light, set at as low of a setting as possible.
The Environment
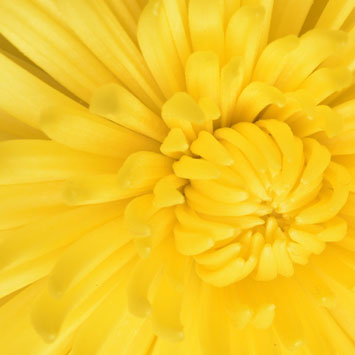
Appropriately shaped flowers are a good choice as environments to encourage the “settling down” behavior. If geographical accuracy is important, be sure to verify that the plant and spider species overlap. Another ideal crevice is the one the spider manufactures on its own: my larger phiddipus jumping spiders would create a web inside the screen-topped mason jars I used to house them. All my “spider in web” images were actually shot in open jars. Repeatedly introducing different spiders into a single, ideally shaped web works fine as long as there is never more than one spider in there at a time.
Keep in mind that it is impossible to account for individuality, even with these rather unsophisticated creatures. Individuals of the same species can react differently to the light from the flash. One spider might not react at all while another will twitch its pedipalps each time the flash goes off. This latter condition is obviously not useful for stacking given the requirement for the subject to remain perfectly still. It is therefore useful to keep multiple live specimens of the same species.
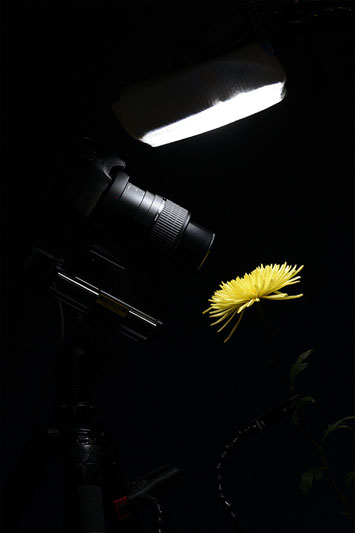
Roll over the image to the left to see the fully illuminated setup.
Scroll to the bottom of the page where construction of the soft box used for this shoot is explained.

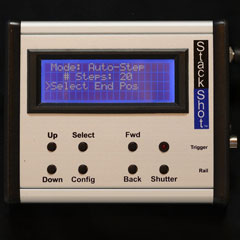
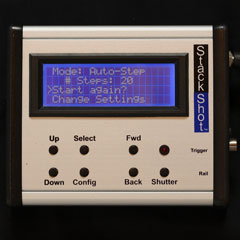
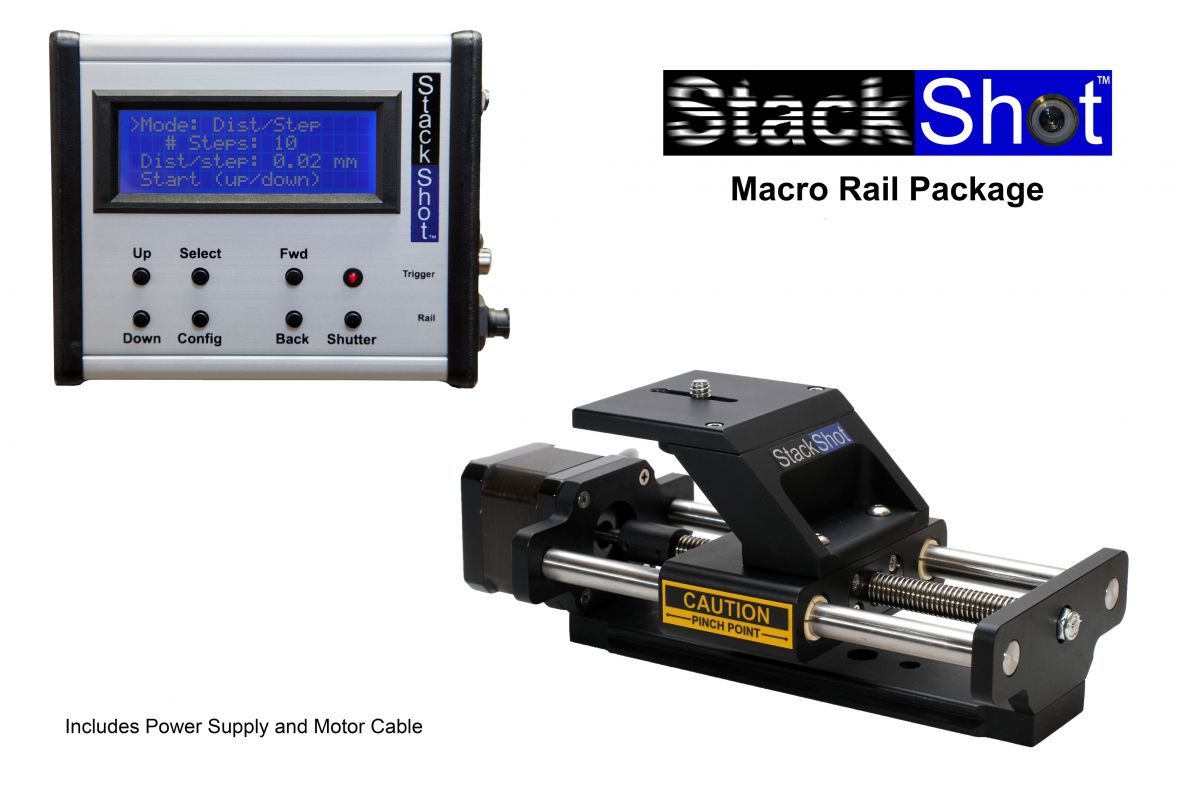
StackShot Settings
When it comes time for using the StackShot, I prefer the “auto-step” mode which allows the user to choose a start point, end point and a number of “steps” in between. The start point corresponds to the closest focus point on the spider relative to the lens and the end corresponds to the farthest. Both points are established by the user by moving the rail back and forth while looking through the viewfinder.

Although stacking can yield a completely in-focus result from tip to tip, remember that performing a 100 image stack of a live creature, uninterrupted from start to finish, is not only difficult but perhaps unnecessary. Often times I get 8 images into a stack of a jumping spider before the spider moves. But this can be enough to cover the area from the tip of the pedipalps to just behind the forehead, rendering everything behind that point pleasingly out of focus.
The Results
Do-It-Yourself Soft Box
A soft box is a very powerful light modifier. A soft box emulates a large expanse of illumination not unlike an overcast sky and hence produces a “soft lighting” effect that lacks the deep shadows of point-source lighting. The relative size of the softbox and/or how close it is positioned to the subject will determine how effective it is in providing that desirable, low-contrast lighting.
In my studio I employ a number of professional grade softboxes. But, when travelling, I prefer to build my own softboxes on location to cut down on luggage. I have used the cereal box based softbox for several published images and the material required to build one has always been easy to find anywhere in the world.
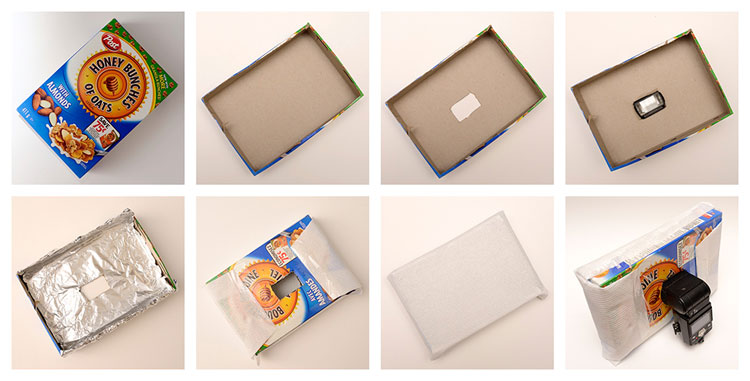
- 1. Any similarly sized box will do. Whenever possible, I recommend a whole grain cereal…
- 2. Cut away one face of the cereal box. This is easier if the edges are reinforced with duct tape beforehand.
- 3. Cut a square hole in the back on the box to accommodate the size of the flash head that you will be using. Tracing around
the flash with a pencil can help in sizing the hole properly so that it is a snug, self-holding fit. - 4. Note the single flash poking through. In high-speed applications where I need faster (shorter) flash durations without
compromising light output, I use two or more flashes in a single soft box. - 5. Cover the interior of the box with aluminum foil. The edges can be secured with duct tape.
- 6. Cover the open side of the box with paper towel. (2 images)
- 8. Final product.
Thank you to Scott Linstead for contribution of this page.
As low as $639.00

As low as $879.00