Scout Camera Box and Lumix Cameras
Panasonic Lumix Cameras in the Scout Camera Box
Panasonic was kind enough to loan us a few of their cameras so we could test them with the Scout Camera Box and determine the ideal settings for using them in a camera trap. Below is the results of that testing. While the test results published on this page are a good place to start for both the Scout Camera Box and camera settings please keep in mind that this was done under laboratory (ideal) conditions and some changes may be necessary to some parameters to guarantee functionality under all conditions and camera settings. This is especially true with the delay parameter. Adding additional time for the camera to wake up and get ready to receive the record start is never a bad idea - especially if your physical setup allows for a bit more delay between when the sensor detects the subject and the recording starts.
Cable and Camera Settings
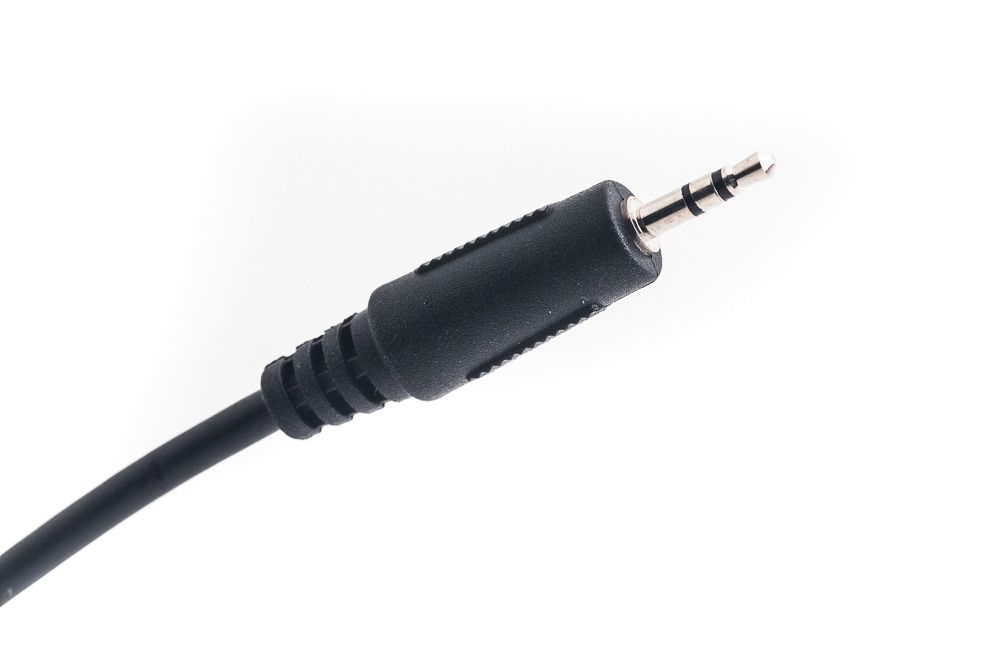
The Lumix GH5 cannot be woken up via the remote shutter port. For that reason the GH5 will require the Panasonic GH5 Interface Base Plate. This base plate interfaces with the electrical connections normally used by the battery grip. This interface allows us to wake up the camera and fire the shutter remotely thus making the camera suitable for camera trapping. For the Lumix GH5 outfitted withe Panasonic GH5 Base you will use the 2.5mm shutter interface cable to connect the camera to the Scout Camera Box. This cable is included with the interface plate. The compatible dummy battery for this camera can be found here.
The camera then needs to be switched into video mode so a shutter button press will record video instead of taking a still image. In order to maximize the battery life it is also worth changing the sleep mode timing to its shortest setting - 1 MIN. This setting can be found by pressing the MENU/SET button and navigating to the settings (blue wrench icon) --> Economy --> Sleep Mode --> 1 MIN.
We are using the remote shutter port to control the camera. Most of the time this port on the camera is used to control the camera with a hand held remote that has both full and half press on it. It is helpful to think of the parameters below as a time line of electronic button presses the Scout Camera Box Controller will send the camera to get the behavior we want - in this case record a video of 10 seconds. All of the parameters below will allow us to define these electronic button presses.
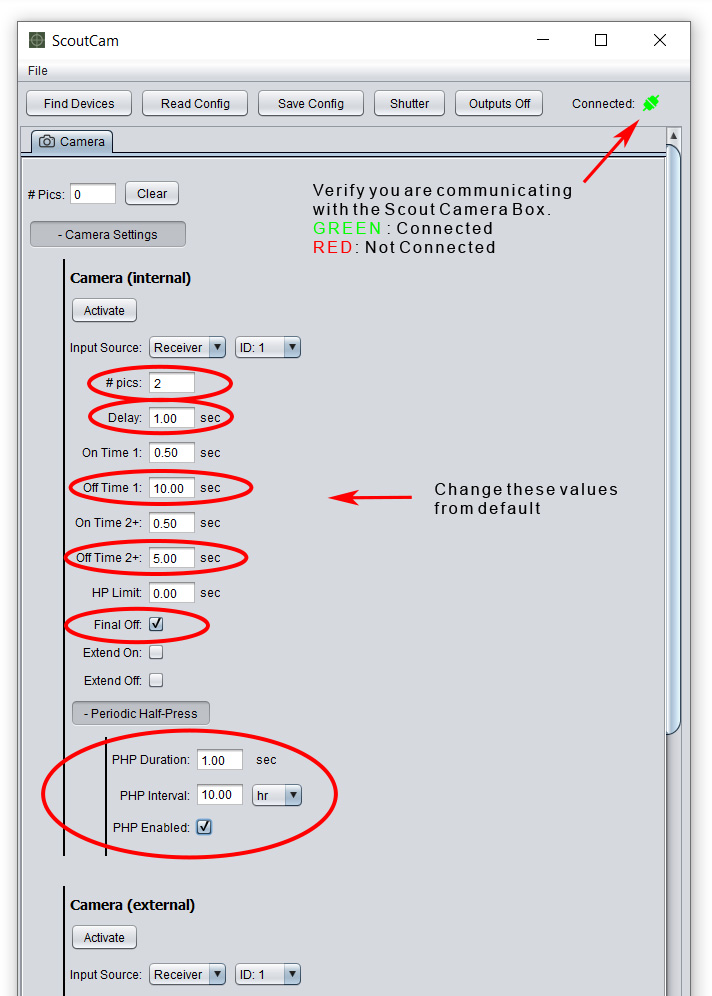
Scout Camera Box Settings - GH5
# pics: You can think of # pics like the number of button presses. In the case of the GH5 camera we want one button press to start the video and one to stop it. Two button presses means #pics should be set to 2.
Delay: Delay adds time between when the half press and full press signals are sent to the camera. As soon as the Scout sensor detects a subject it will send a signal to the camera box which will then assert the half press immediately, it will then wait the Delay time and then assert the full press which will start the video. This camera requires a Delay of at least 1 second - without it the camera will miss the first button press and get out of sync with the camera controller and you will end up with a 30 min video clip.
On Time 1: If we continue with our analogy of configuring the electronic button presses to make the camera do what we want. The On Time 1 is the length of time the button is held down for the first press. For Lumix, 0.5 seconds is long enough to register a button press. This button press (pulse) starts the video.
Off Time 1: Off Time 1 is the delay between our two button presses and also sets the length of the video clip you want to record.
On Time 2: This defines how long our second button press is held down - again for Lumix 0.5 seconds is long enough to register a button press. This button press stops the video record.
Off Time 2 This 5 second delay gives the camera time to finalize writing the recorded video clip to the camera's memory card. If we send another trigger while the camera is busy it is possible the camera will miss the start record button press and get out of sync. While this may not be absolutely necessary depending on the length of the video and speed of the card it is good practice.
Final Off: Checking this box tells the Scout Camera Controller that it needs to use the final off time before moving on.
Extend On: If you want additional triggers that come in from the sensors to extend the length of the video clip check this box. Each time an additional trigger comes in it will restart the On Time 1 timer. For example if you are recording a 10 second video and you get a second trigger 5 seconds into your video the video clip length will be extended to a total of 15 seconds.
Periodic Half Press: Use these settings to prevent the camera from going into its deep sleep mode. Once it enters deep sleep it will take much longer to respond to the input causing synchronization issues between the Scout Camera Box and camera. These settings will send a 1 second 1/2 press to the camera every 10 hours. While this will use a bit more power it will keep the response time to a minimum and prevent sync issues.
Cable and Camera Settings
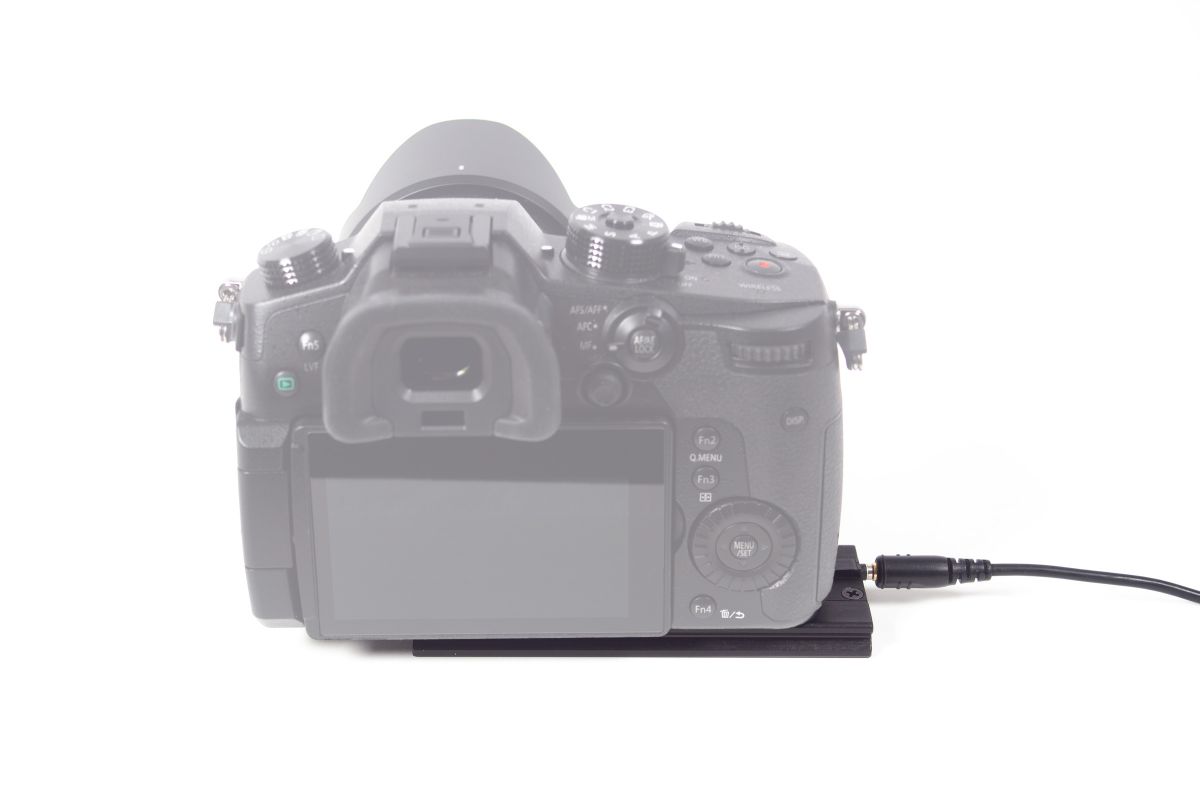
One of the big improvements Panasonic made to the GH5 Mk II, S5 and S1H was to add the wake-up functionality to their remote shutter input. This means we don't have to use the battery grip interface to control this camera in a camera trap. We can simply use the standard remote shutter port and a shutter interface cable to control the camera with the Scout Camera Box. These cameras have some of the fastest wake-up times of any mirror-less camera we have tested coming in at 1 second from sleep mode.
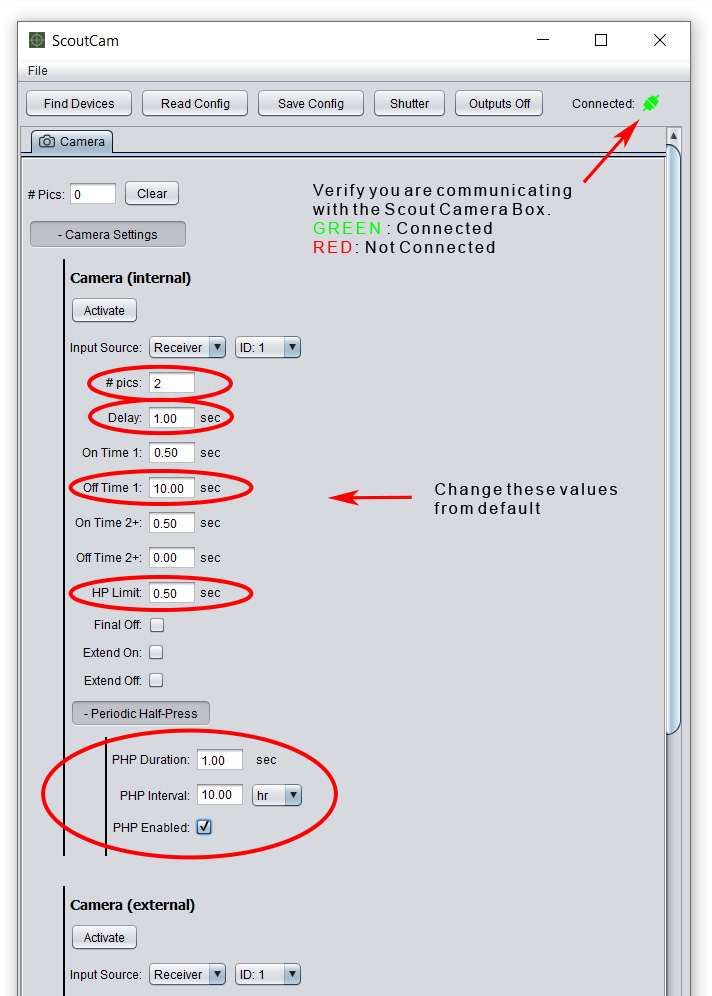
Scout Camera Box Settings
We are using the remote shutter port to control the camera. Often this port is used to control the camera with a hand held remote button that has both full and half press on it. It is helpful to think of the parameters below as a time line of electronic button presses the Scout Camera Box Controller will send the camera to get the behavior we want - in this case to record a video of 10 seconds. All of the parameters below will allow us to define the electronic button presses.
# pics: You can think of # pics like the number of button presses. In the case of the Lumix cameras we want one button press to start the video and one to stop it. Two button presses means #pics should be set to 2.
Delay: Delay adds time between when the half press and full press signals are sent to the camera. As soon as the sensor detects a subject it will send a signal to the camera box which will then assert the half press immediately, it will then wait the Delay time and then assert the full press which will start the video. This camera requires a Delay of at least 1 second - this short delay will give the camera a bit of extra time to wake up from sleep mode.
On Time 1: If we continue with our analogy of configuring the electronic button presses to make the camera do what we want. The On Time 1 is the length of time the button is held down for the first press. For Lumix, 0.5 seconds is long enough to register a button press. This button press (pulse) starts the video.
Off Time 1: Off Time 1 is the delay between our two button presses and also sets the length of the video clip you want to record.
Om Time 2: This defines how long our second button press is held down - again for Lumix 0.5 seconds is long enough to register a button press. This button press stops the video record.
Extend Off: If you want additional triggers that come in from the sensors to extend the length of the video clip check this box. Each time an additional trigger comes in it will restart the Off Time 1 timer. For example if you are recording a 10 second video and you get a second trigger 5 seconds into your video the video clip length will be extended to a total of 15 seconds.
HP Limit When shooting video with these cameras holding down the half press after sleep will cause the camera to ignore the full press. In order to fix that we need to send a quick 1/2 press followed by the full press to start recording. Since the delay is 1 second and the HP Limit is 0.5 seconds. The end result will be asserting the half press for 0.5 Seconds after the trigger is received, then delay for 0.5 Seconds and then assert the full press to start record.
Periodic Half Press: Use these settings to prevent the camera from going into its deep sleep mode. Once it enters deep sleep it will take much longer to respond to the input causing synchronization issues between the Scout Camera Box and camera. These settings will send a 1 second 1/2 press to the camera every 10 hours. While this will use a bit more power it will keep the response time to a minimum and prevent sync issues.
GH5 II
The GH5 Mk II uses the same dummy battery as its predecessor.
To record video set the camera's mode selector dial to Movie Mode. Also set the sleep mode times to the shortest duration possible - 1 MIN. To find this setting go to Tools --> Monitor/Display --> Power Save Mode --> Sleep Mode --> 1 MIN.
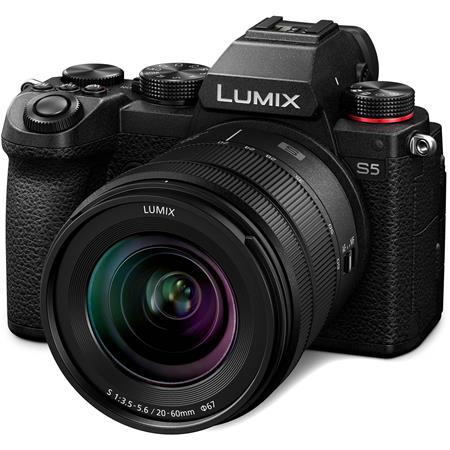
DC-S5
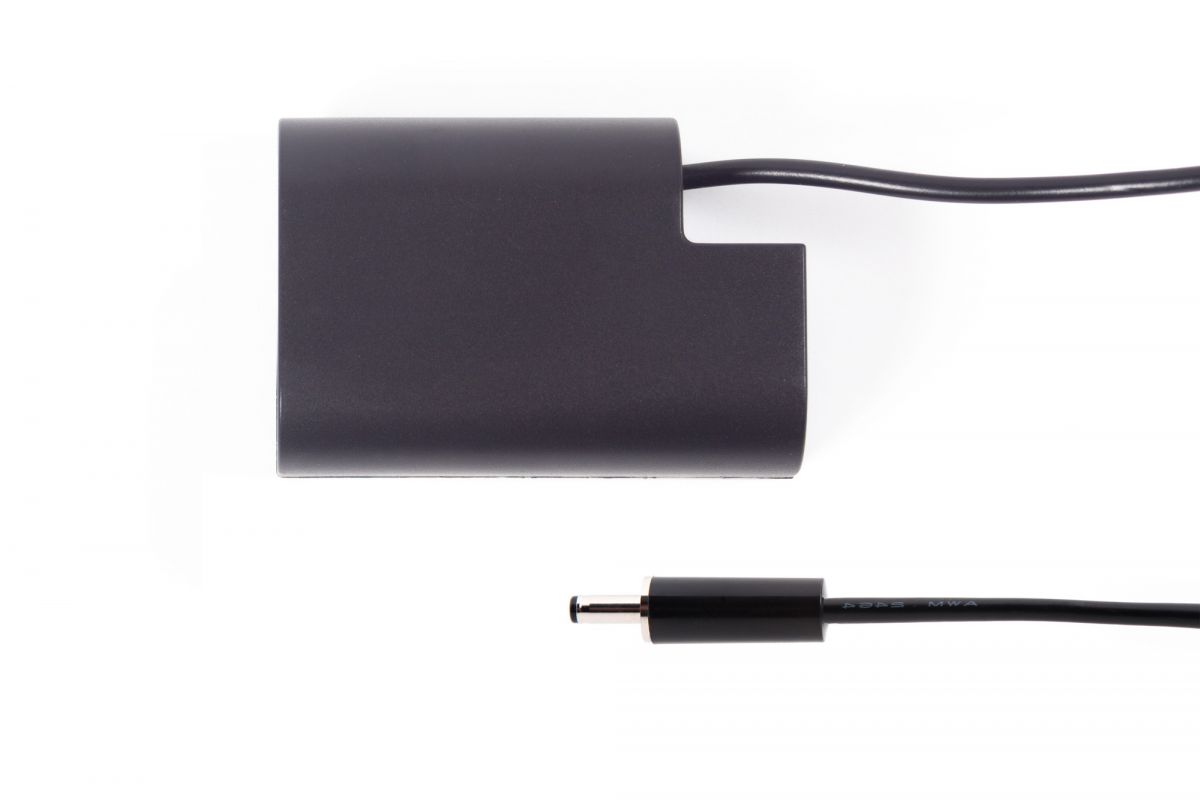
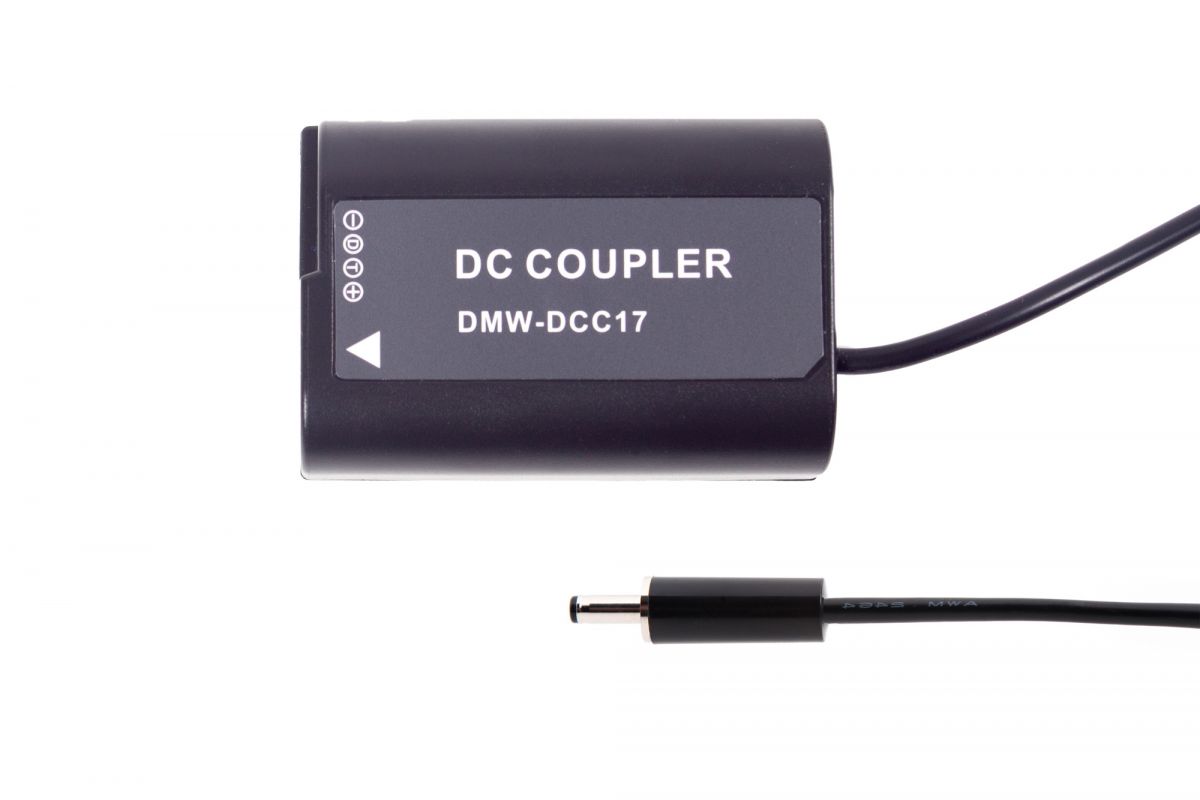
The S5 uses the DCC17 dummy battery and this Panasonic shutter interface cable.
You will want to set the camera sleep modes to as short as possible, for this camera that is 1 min.
DC-S1H
The S1H requires 9VDC to be supplied through the dummy battery, this is more voltage than the camera power output of the Scout Camera Controller provides so this camera will need to powered directly from the Li-Ion battery packs and not use the DC output on the camera controller. This can be accomplished using a dual output Y cable. Please drop us an email if you would like to use this camera and we can get you the dummy battery and adapters you need to get you up and running.
You will want to set the camera sleep modes to as short as possible, 1 min for this camera. Also we found this camera will not enter sleep mode if the rear display is off. To turn it on press the "DISP" button on the camera. It is located next to the bottom right of the articulating display.