Water Drops Beyond the Basics - Three Drop Collisions
Water Drops - Beyond the Basics
Once you have the lighting and basic collisions down and you are looking to take your drop shots to the next level here are some additional techniques to try. These techniques are not always easy and do take some effort and patience so make certain you have the basics down before you dive in.
Three Drop Collisions
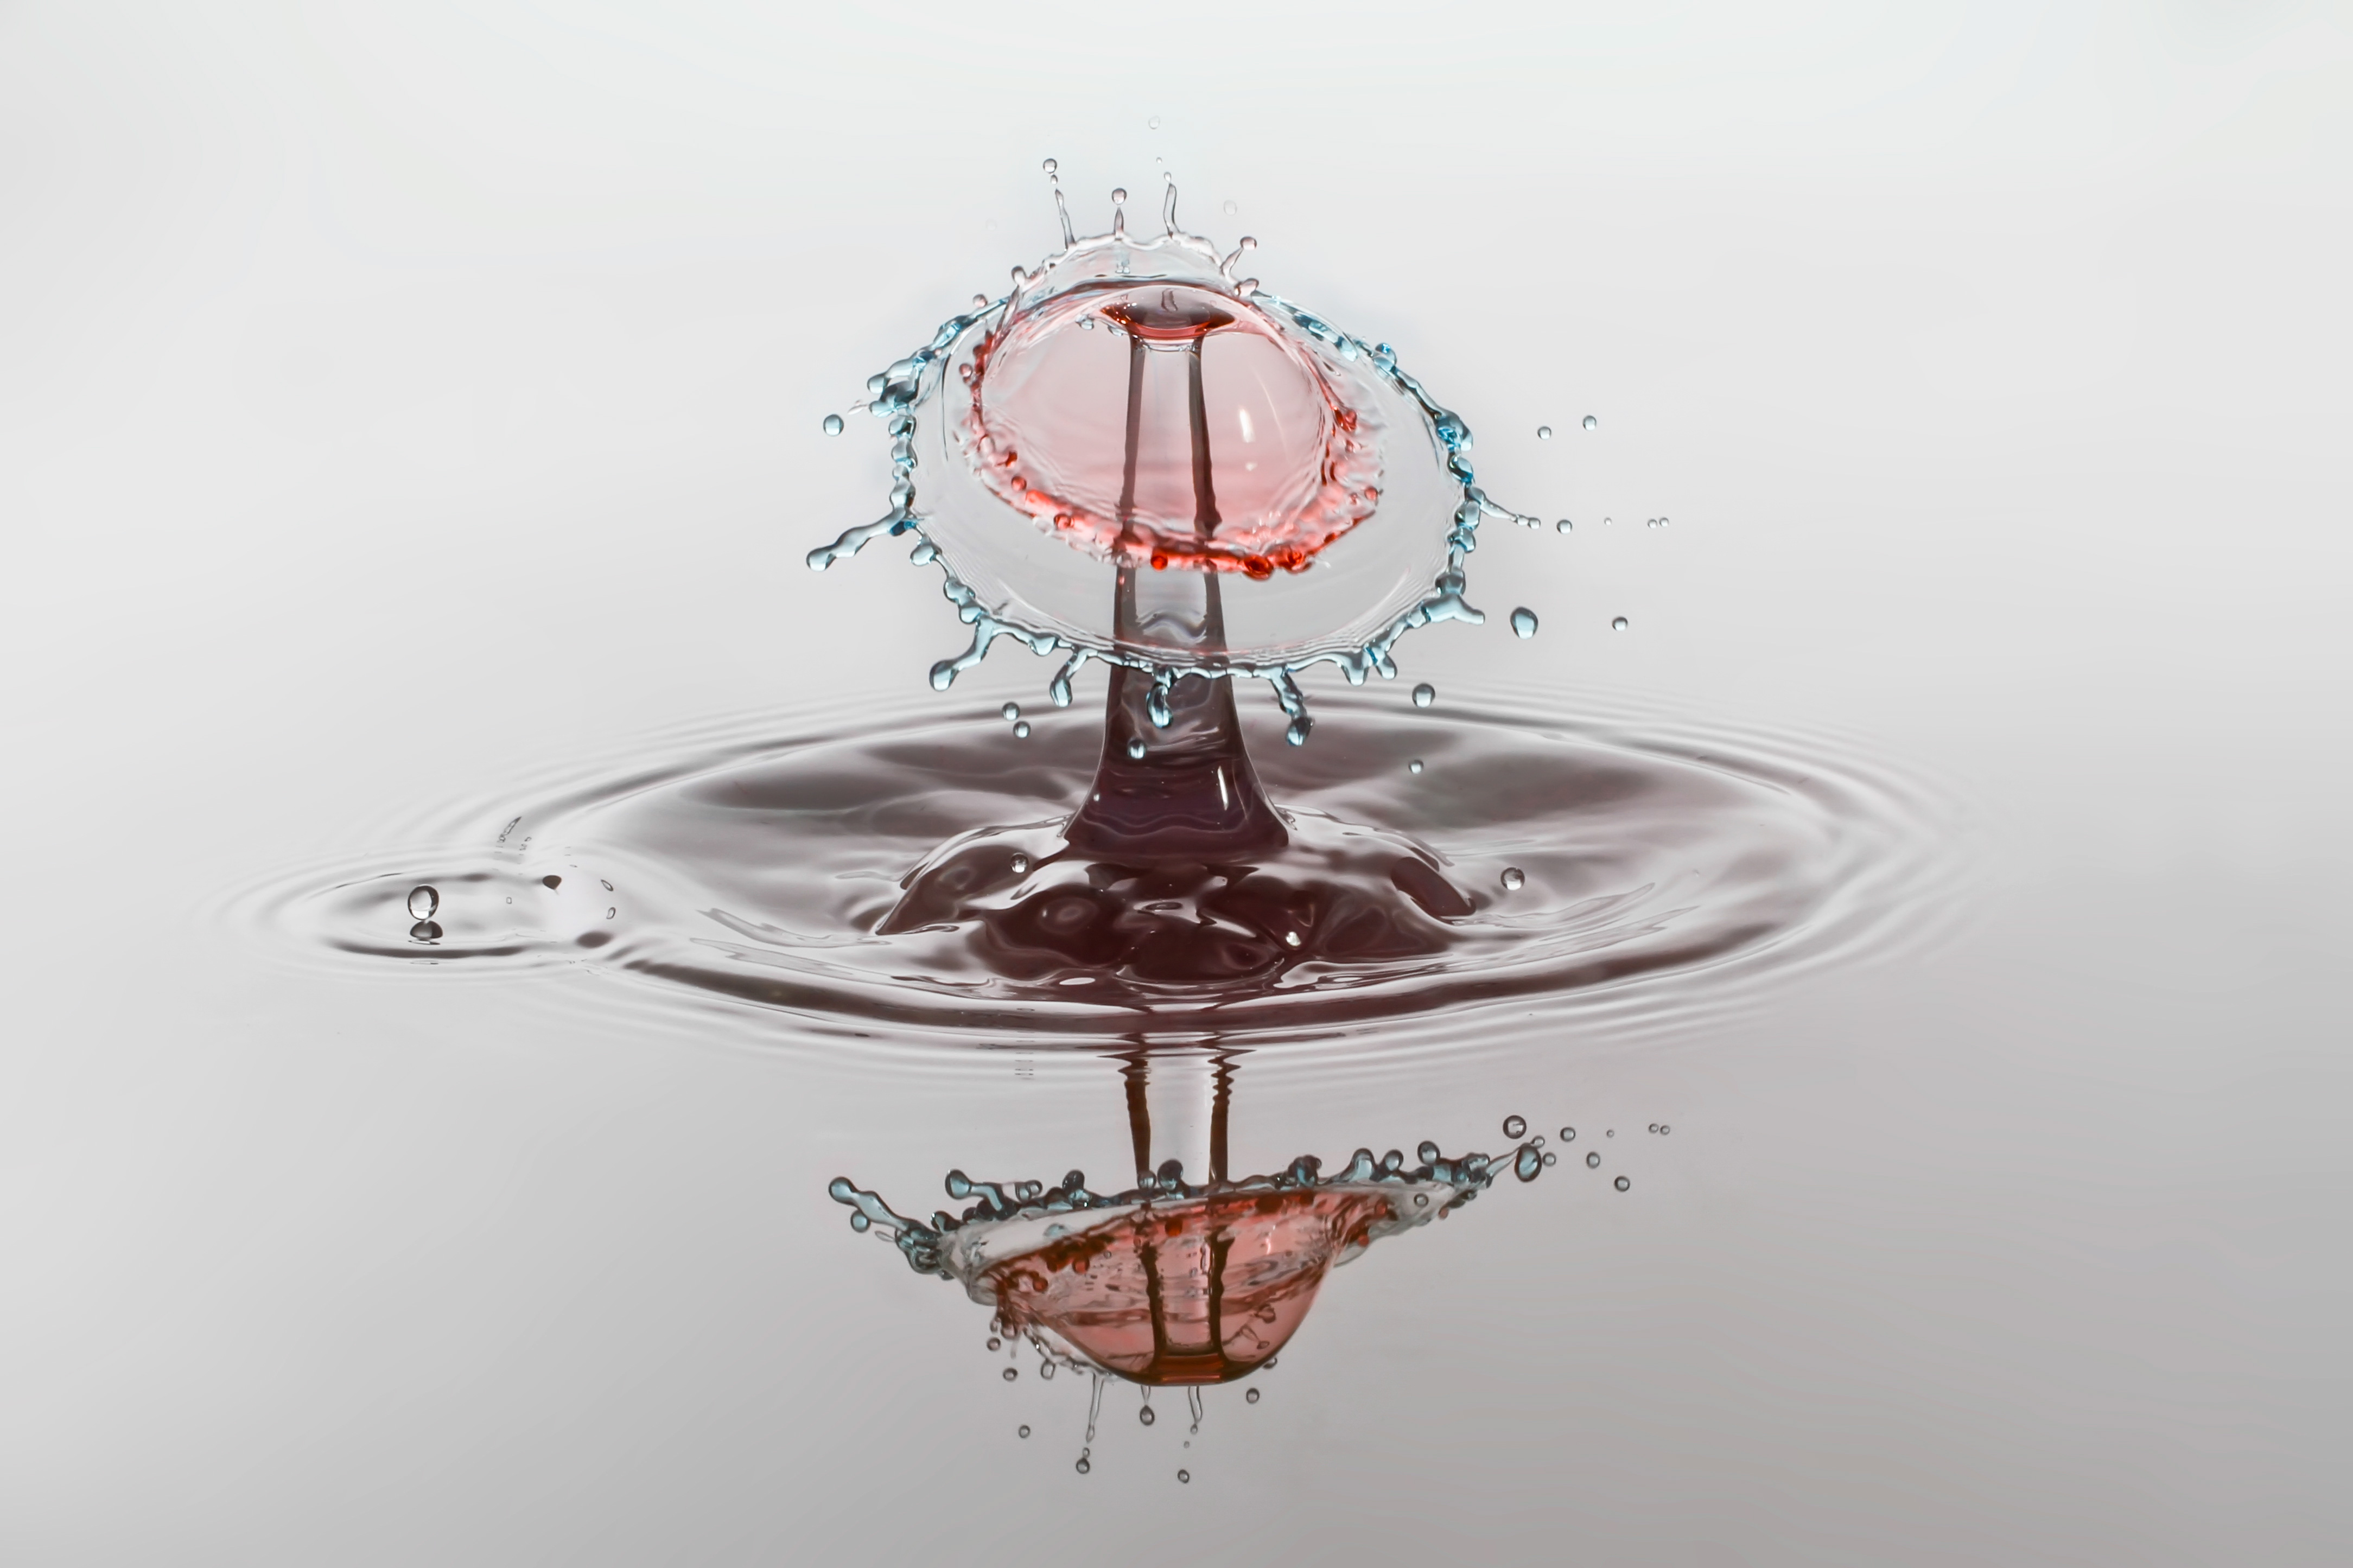
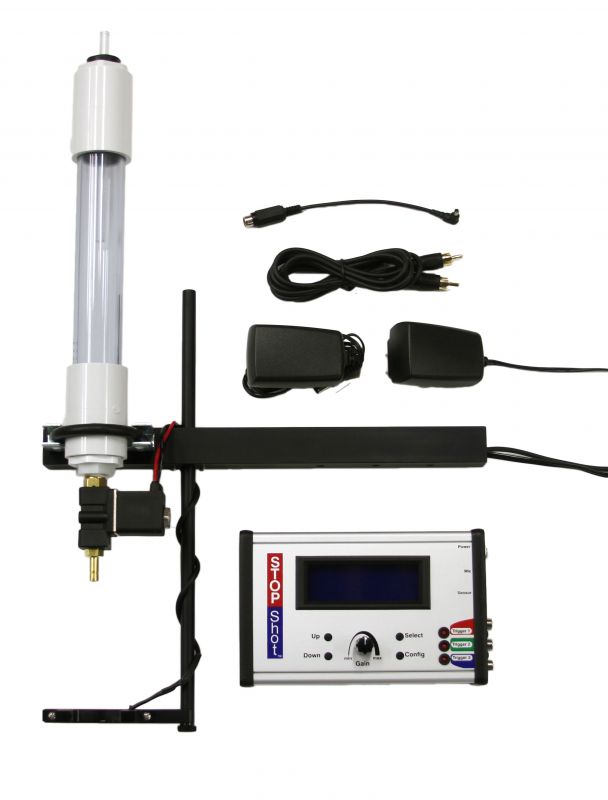
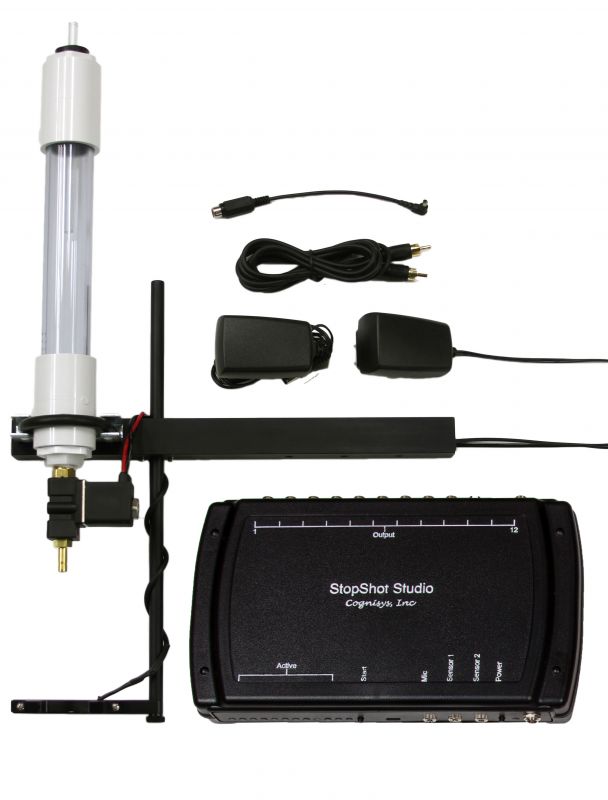
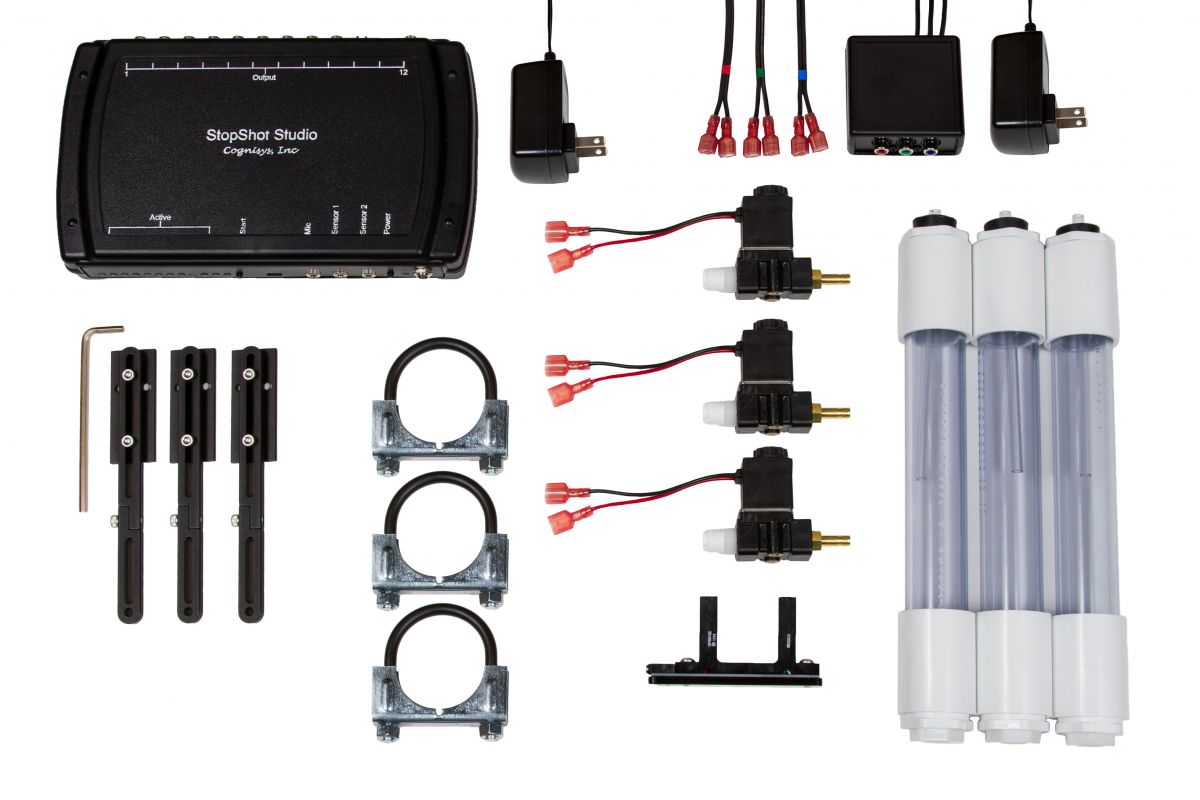
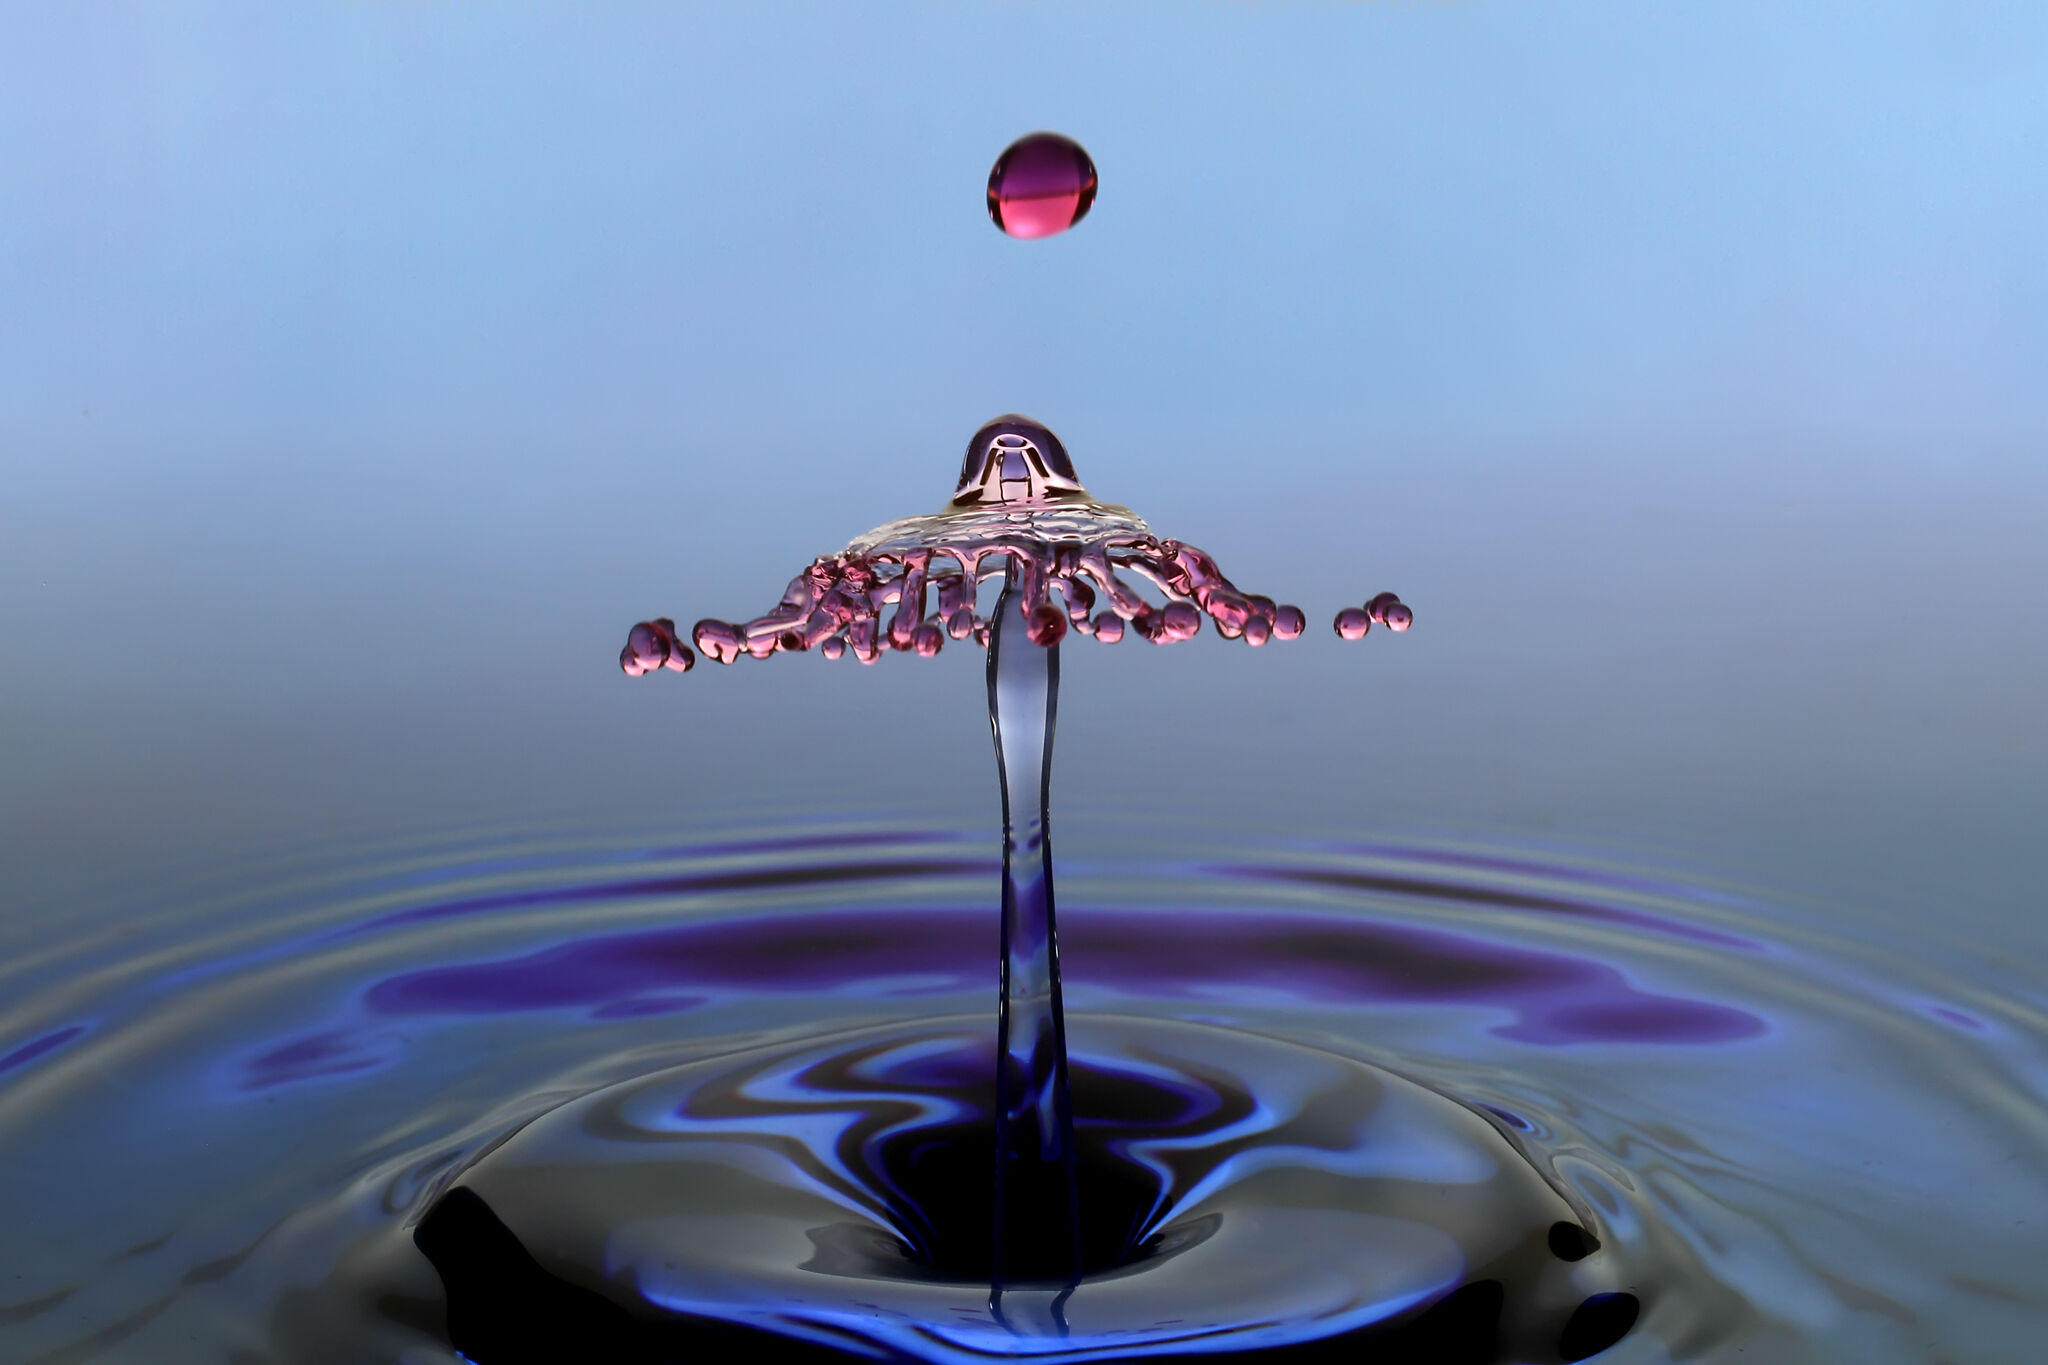
This technique can be performed with the same equipment that is needed for two drop collisions - that is a StopShot Water Drop Photography Kit, a camera and an external flash. For the photograph below the water valve assembly was connected to Trigger 1 and the flashes were connected to Trigger 2. Trigger 3 was not used. The camera was in bulb mode with the aperture set to f/16. In this particular shot I used two Canon 430EX flashes in manual mode with the power turned down to 1/16. The flashes were connected in parallel using an RCA Y Cable, a couple of RCA Cables and two Hot Shoes.
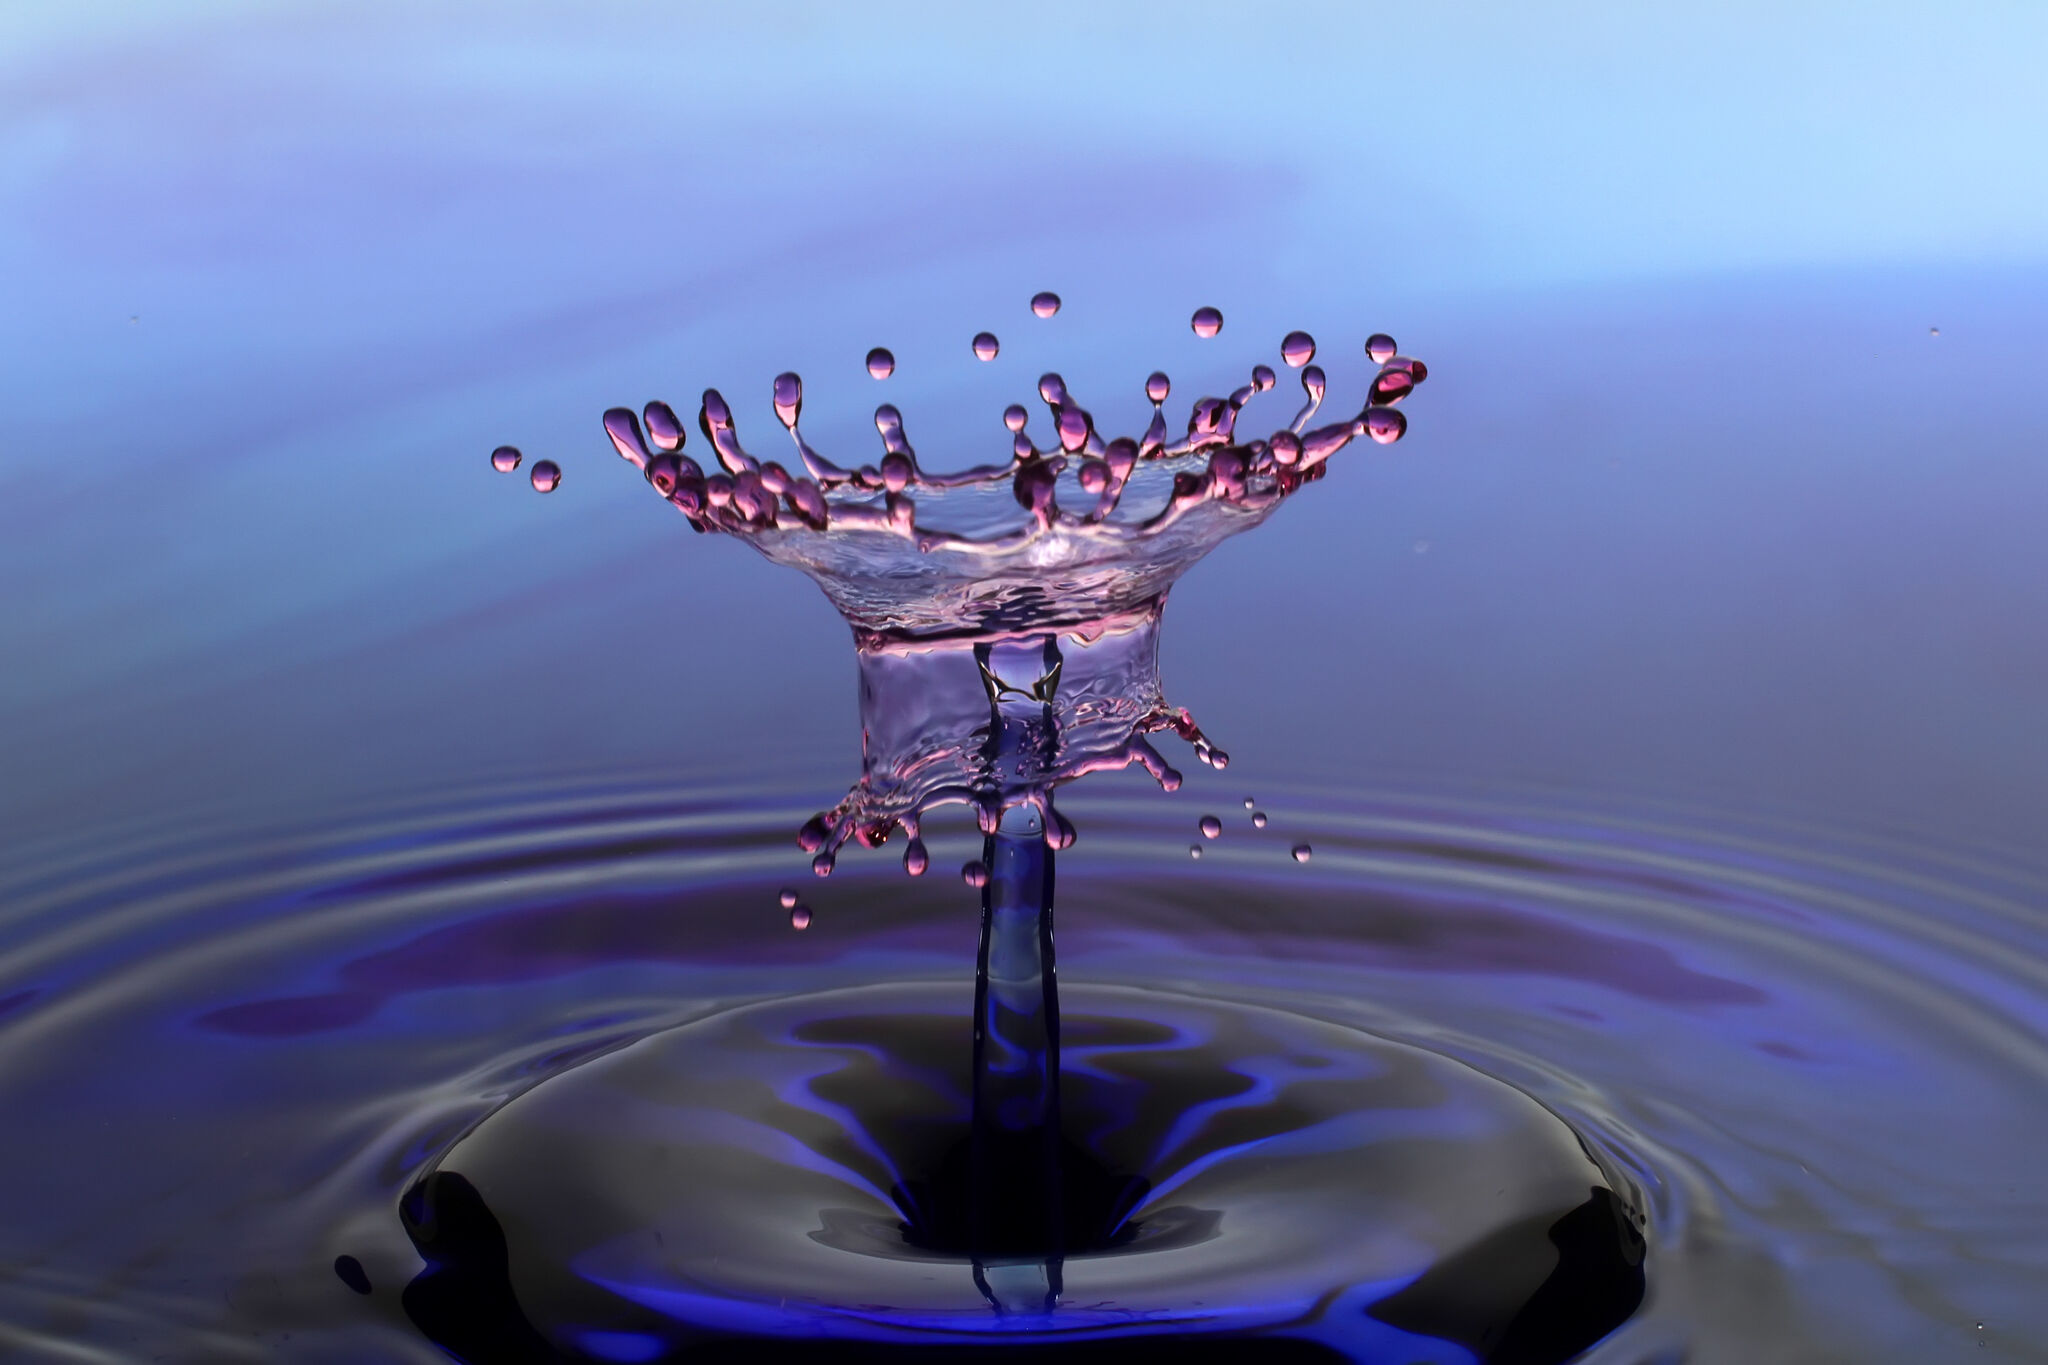
The trick to 3 drop collisions is get the 2nd and 3rd drop to arrive at the rebound of the first drop very close in time to each other. There are a couple of different methods to do this. The first is to keep Toff2 as short as possible. There are limits to how fast the valves can respond though so you need to stay within these bounds. 10mS is about the limit for on time and for time between drops. For the shot below I had 16mS between the 2nd and 3rd drop. This yielded some pretty good shots.
The second option here is to use a longer time between drops but make the 3rd drop larger than the 2nd drop. This can be done by adjusting the on time of the pulse that creates the third drop (Pulse3) to 16 to 20mS and keeping the Pulse time for the 2nd drop short.
Here are all of the StopShot settings I used to capture the 3 drop collision shots below:
StopShot Settings Details
|
== StopShot==
SEQ
|
||
|
>
|
Manual 1: | Waiting |
|
|
Trigger 2: | 312.0 ms |
|
|
Trigger 3: | off |
Trigger 1 Settings (page 1):
|
>
|
T1 Mode:
|
Manual |
|
|
# Pulse: | 3 |
|
|
Pulse 1: | 16.0 ms |
|
|
Toff 1: | 100.0 ms |
Trigger 1 Settings (page 2):
|
>
|
Pulse 2:
|
12.0 ms |
|
|
Toff 2: | 16.0 ms |
|
|
Pulse 3+: | 12.0 ms |
|
|
Toff 3+: | Same |
Manual 1: Waiting - This mode causes StopShot to wait for your button press (UP or DOWN) before anything happens. Trigger 1 is in manual mode and is waiting for a button press to start pulsing the valve creating the drops. Once it gets the button press it will start opening and closing the valve according to your setup.
Trigger 2: 312 ms - After all of the water drops have been released StopShot will wait for a trigger event. A trigger event occurs when the water drop is detected passing through the sensor. After the drop has been detected StopShot will wait the 312mS you set and then turn on the output. This will cause the flashes to fire exactly 312mS after the water drop passes through the sensor. All of the other settings for this trigger are left at their default values.
Trigger 3: off - This output is not connected and is off.
You get to the next group of settings by making sure the cursor (">" ) is pointing to the 1st Trigger and then press the CONFIG button.
T1 Mode: Manual - This sets up trigger 1 in manual mode.
#Pulse:3 - This tells StopShot to create 3 pulses or 3 drops. Each pulse will generate 1 drop.
Pulse1: 16ms - This is the valve open time for the first drop.
Toff1:100ms - 100ms is the amount of time between the first and second drop.
Pulse2: 12ms - This is the valve open time for the second drop.
Toff2: 16mS - 16mS is the amount of time between the 2nd and 3rd drops
Pulse3: 12mS - 12ms is the open time of the valve for the final drop.
The settings only tell half of the story though -- the other piece is the physical setup. Here are the dimensions for this setup:
Water depth - 3/4in
Distance between valve tip and sensor - 6" (if you want a longer Toff you may have to lower the sensor)
Valve Height - 25in from the tip of the nozzle to the table top (not the water surface).

Even if your setup uses the same dimensions as above you may not get the same results. There are lot of different variables that can affect the timing. Temperature is one and water chemistry is another and probably the most significant. Given these variables I'll give you a bit of a walk through on how I came up with the settings.
The First Drop
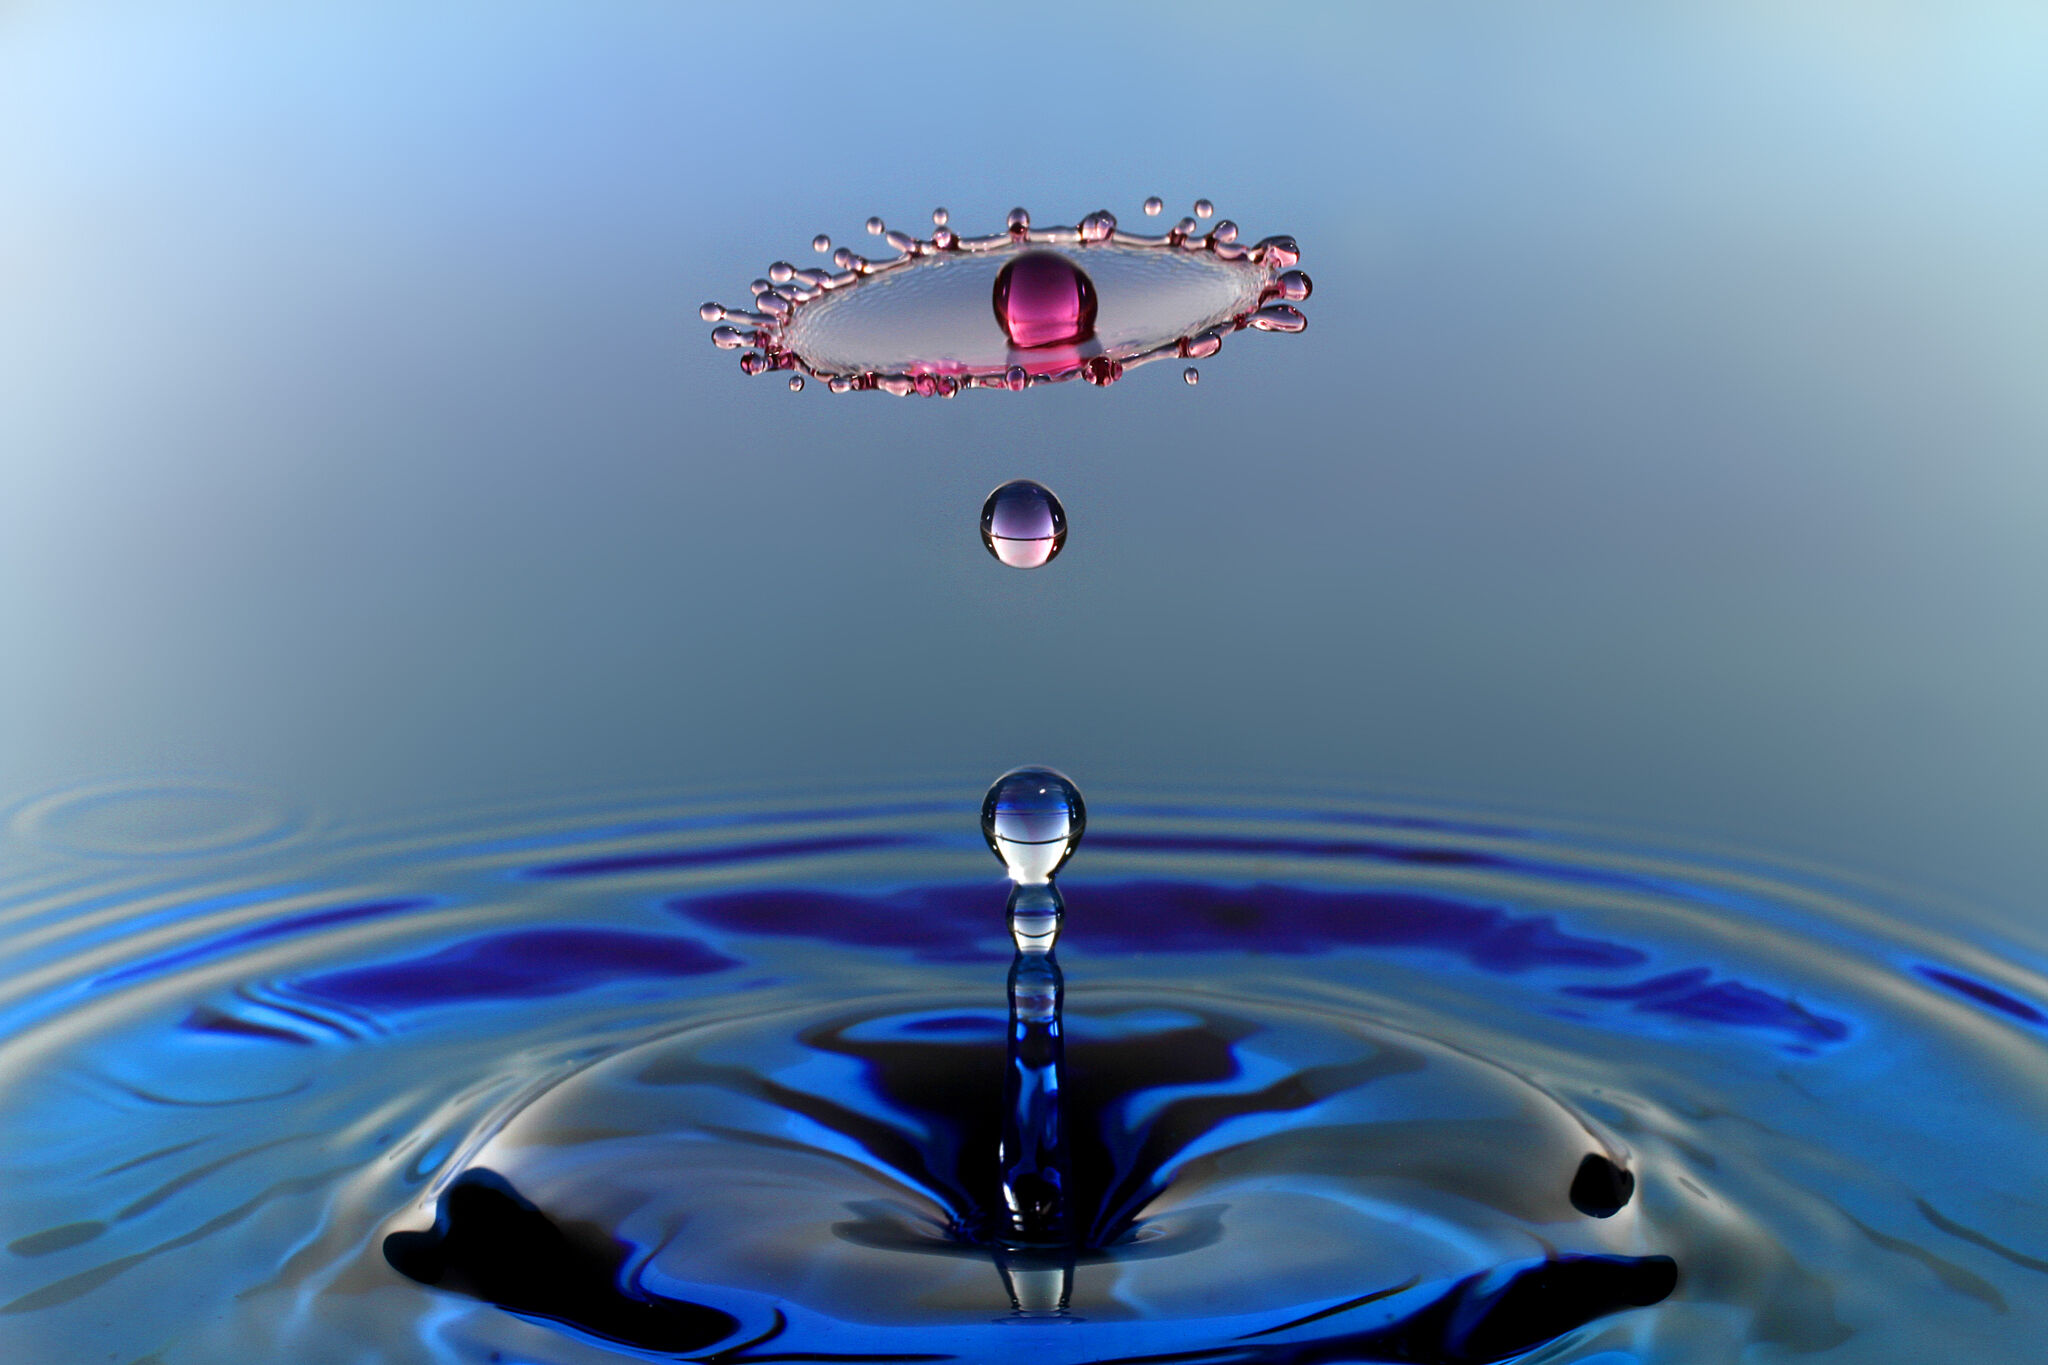
No matter what type of shot I am trying to create I always start out by getting an image of the 1st drop rebounding. You need to decide at what point in the rebound do you want your collision to occur. Do you want the column of water rising? Do you want the drop that forms to separate as the column begins to fall? Do you want the column at its highest point? All of these different scenarios will create different effects. You will want to dial in the Pulse time for the first drop and the flash timing (Trigger 2 delay) during this phase. Once you have this dialed in you are ready to add a second drop.
The Second Drop
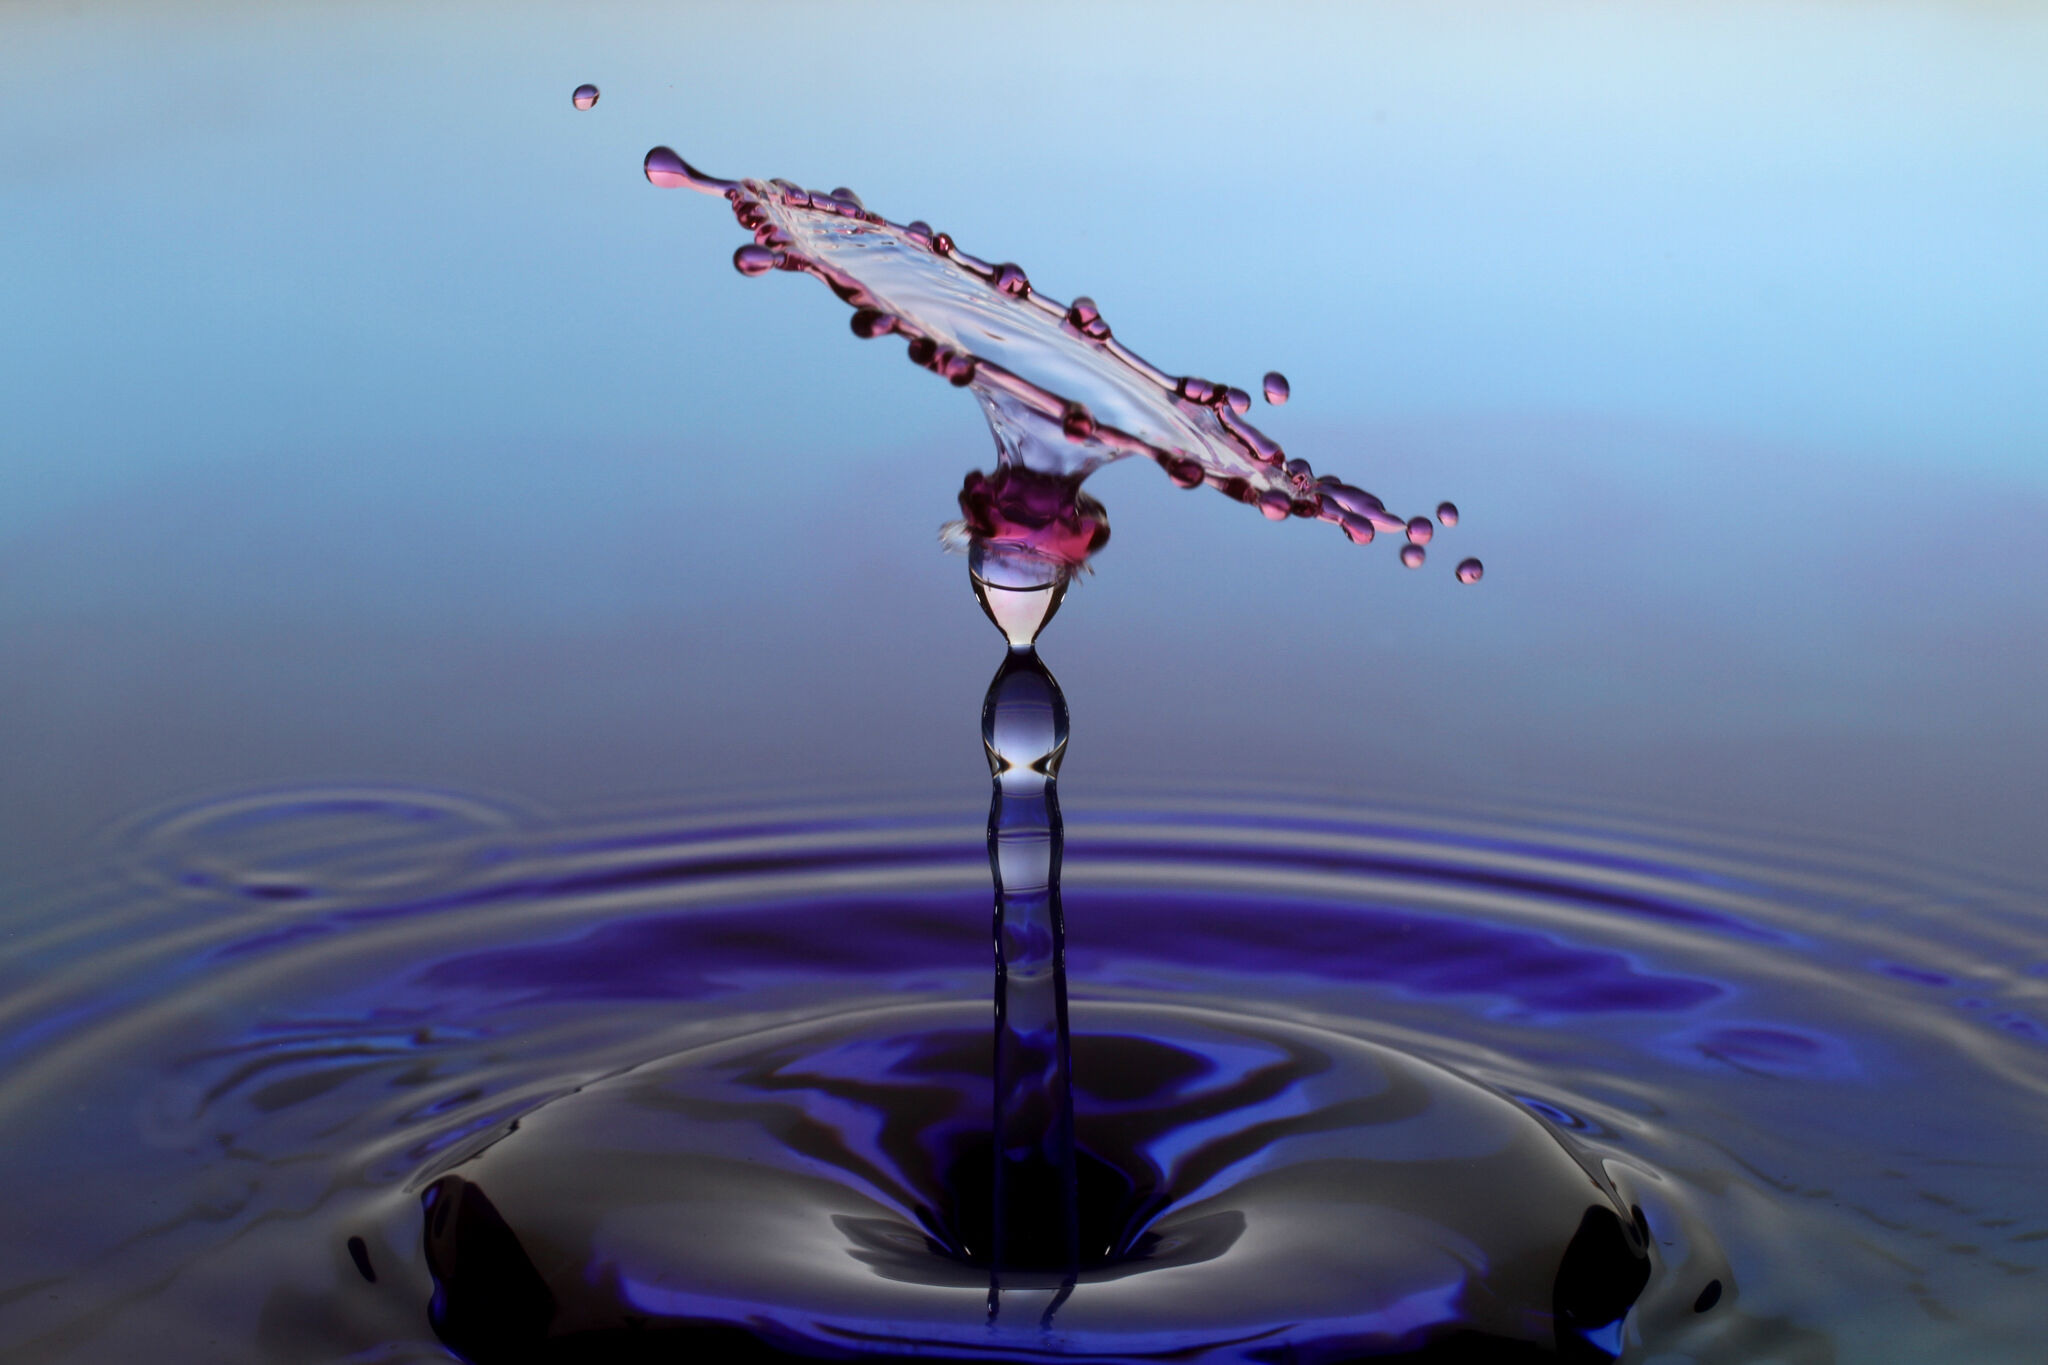
Now it is time to create a collision with the second drop. Without changing the parameters you set up while creating the 1st drop change the number of pulses to 2, set the pulse time to 12mS or so and then set the Toff time to somewhere around 100mS. This will give you a good starting point from here you need to kick off the drops and see where the drop is when the flash goes off. Likely if you are using dimensions like the ones I listed above you will need to increase the Toff a bit. Keep increasing Toff until the 2nd drop works its way towards the column of water you setup before. Once you have a collision occurring its time to move to the next step.
The Third Drop
Time to add the third drop. Increase #Pulses to 3. Set Toff2 to 16mS and set Pulse3 to 12mS. Take a few shots and watch where your third drop is is in the stack. If it is too high decrease the time between drops 2 and 3 (Toff 2) and/or increase the the size of the final drop (Pulse3). This is where it starts to get challenging. For the first two drops you can make changes by 5mS increments. When you get to the third drop even 1mS changes have a significant impact. Make your changes in small steps and check each change with a couple of shots. If your second drop has completely disintegrated by the time the third drop has arrived you will need to work on your water chemistry. The water we have here is very hard and if I don't add some Jet Dri (dishwasher rinse aid) to the pool or some guar gum to the siphon I cannot create a good looking three drop collision.
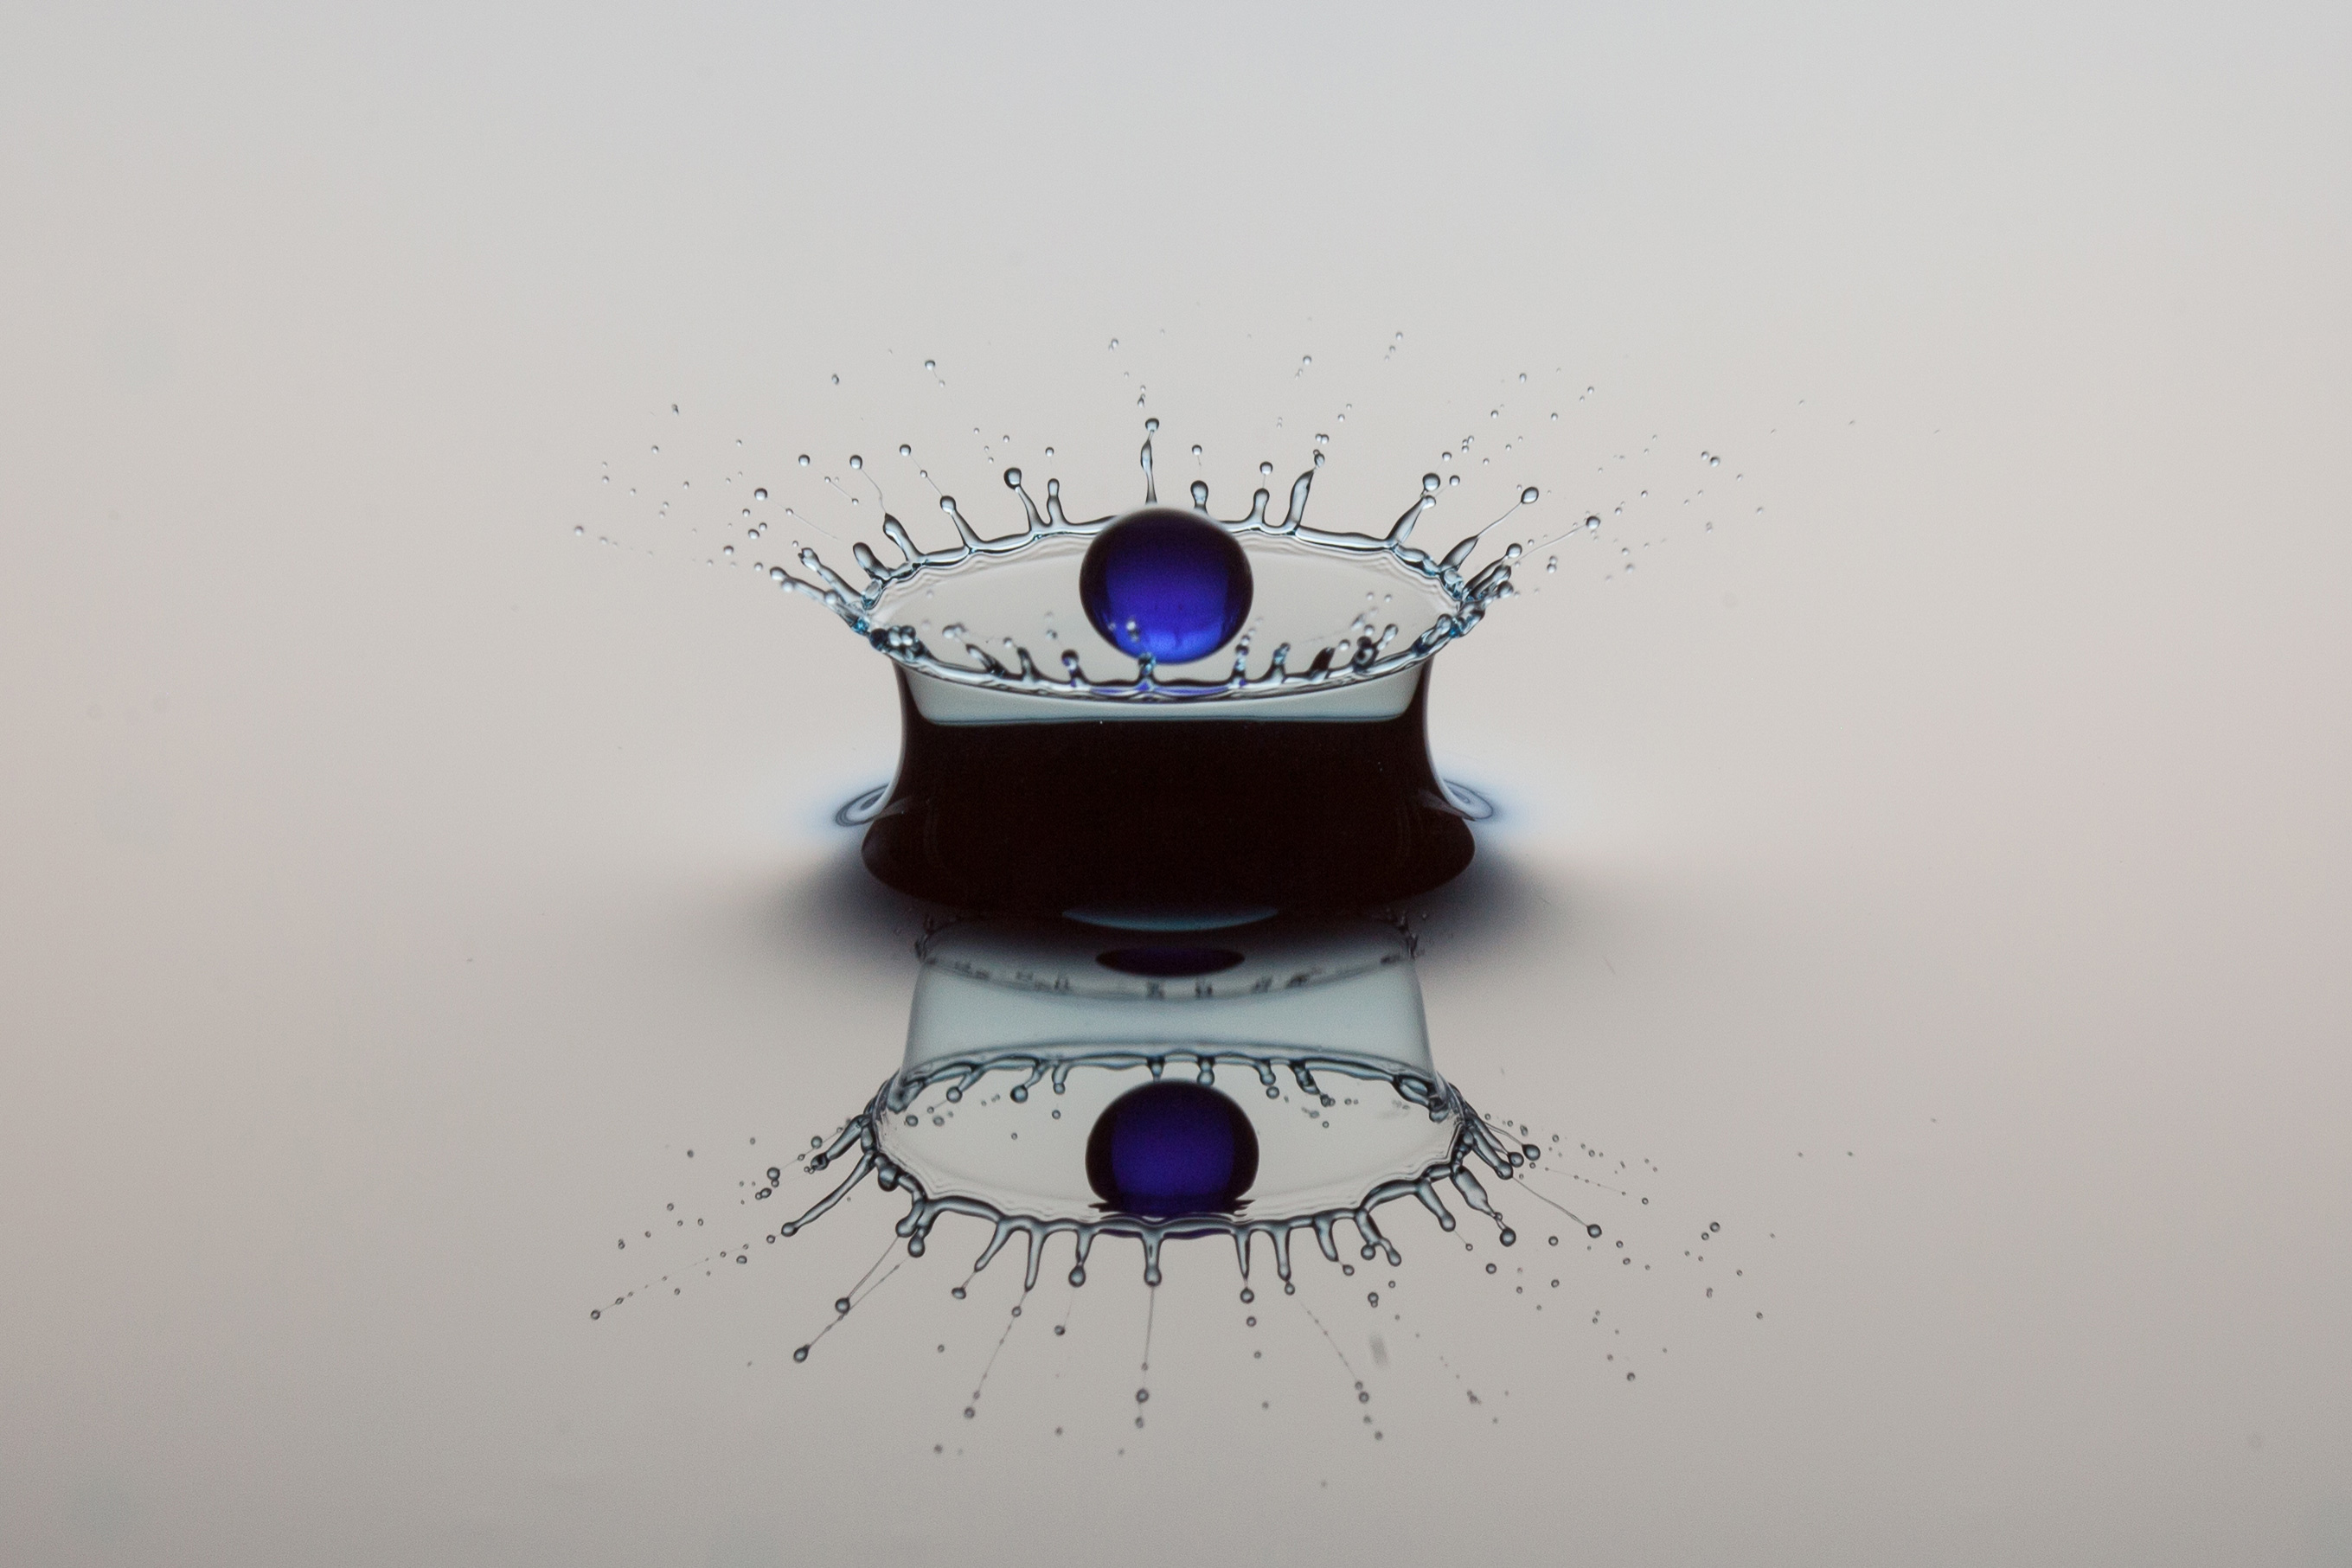
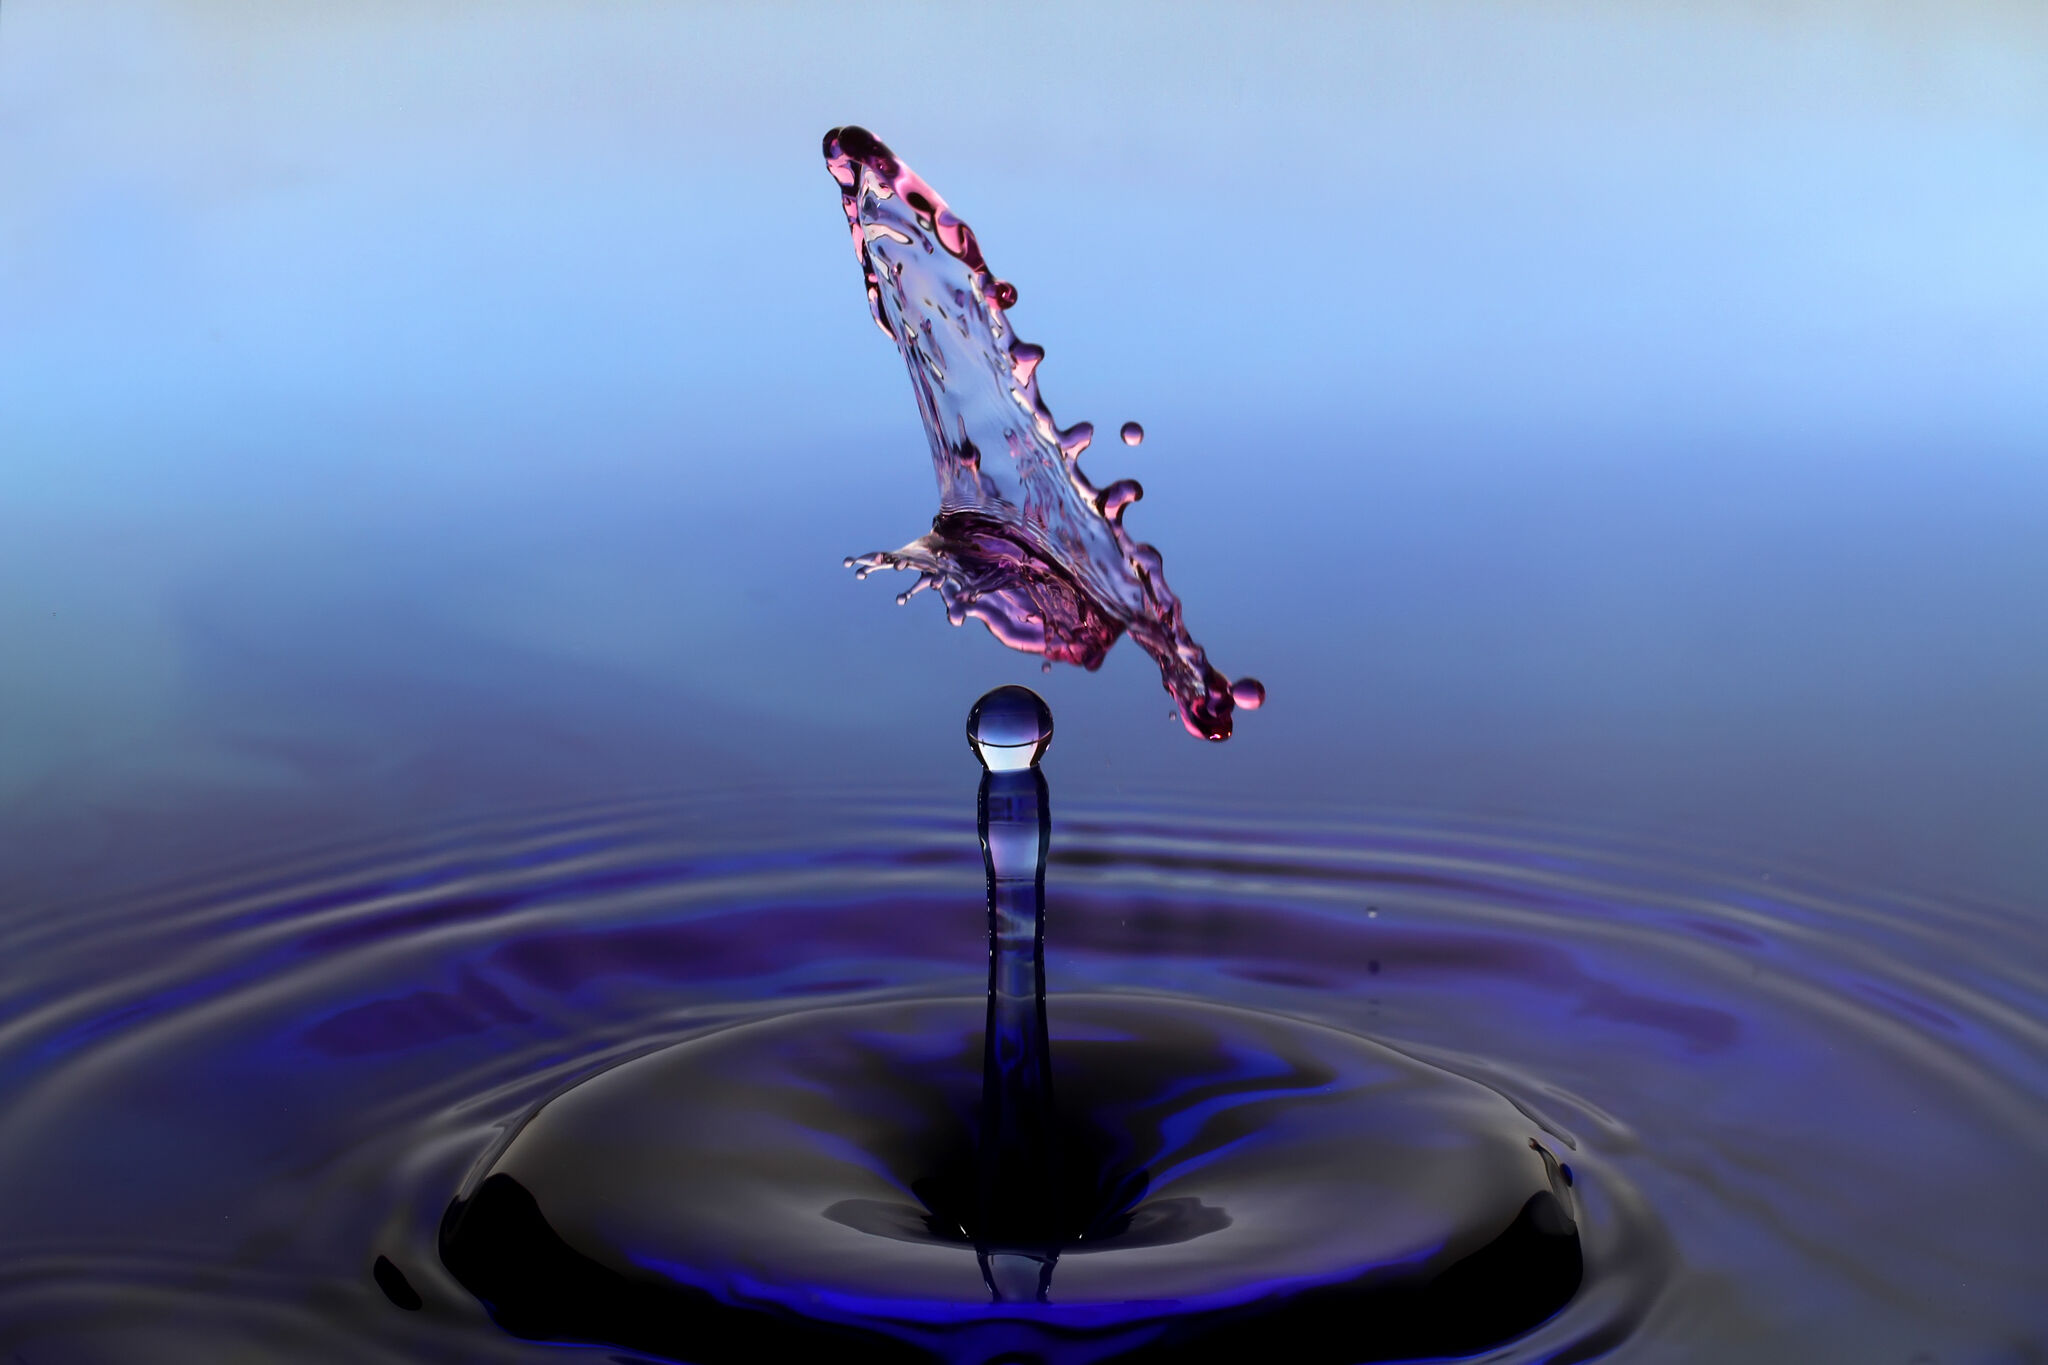
More Three Drop Collisions created with 1 Water Valve and StopShot

The Next Tutorial in the Water Drop How To Series - Connecting Two Valves to StopShot